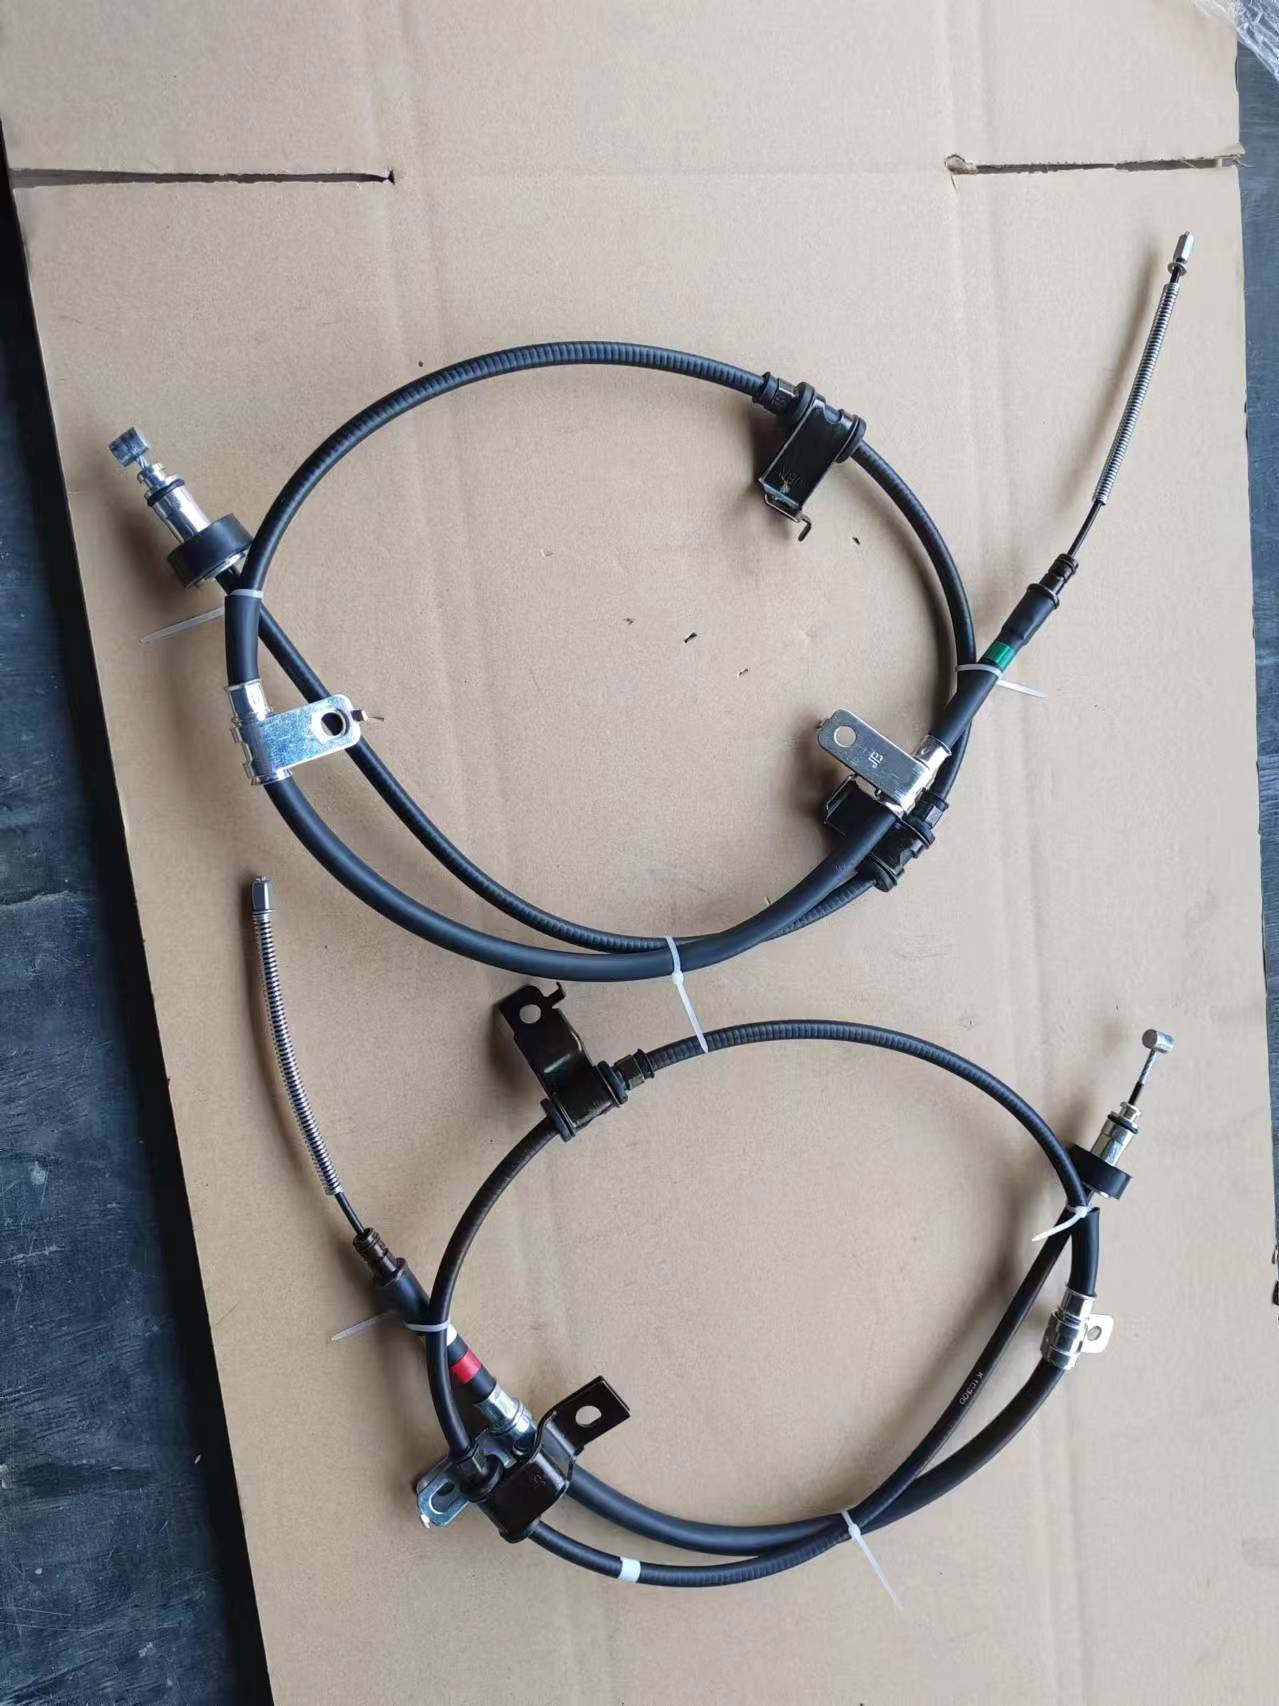
Fine-tuning the Throttle Cable for Optimal Performance and Responsiveness
Adjusting the Throttle Cable A Step-by-Step Guide
The throttle cable is a crucial component in many vehicles, controlling the flow of air and fuel to the engine. Proper adjustment of the throttle cable can lead to better engine performance, improved responsiveness, and even enhanced fuel efficiency. Over time, the throttle cable may stretch or wear, leading to issues such as a delayed response or even stalling. If you notice these symptoms, it may be time to adjust or replace your throttle cable. Here, we will guide you through the process of adjusting the throttle cable in a few straightforward steps.
Understanding the Throttle Cable
Before diving into the adjustment process, it's essential to understand what the throttle cable does. In most vehicles, the throttle cable connects the accelerator pedal to the throttle body on the engine. When you press down on the accelerator, the cable pulls open the throttle, allowing more air and fuel to enter the engine, which generates more power. A properly adjusted throttle cable ensures that this process is smooth and responsive, enhancing your driving experience.
Tools You Will Need
Before beginning the adjustment, gather the necessary tools. These typically include
- A wrench or socket set - Screwdrivers (flathead and Phillips) - Pliers - A ruler or tape measure (for precise adjustments) - Safety glasses and gloves
Step-by-Step Adjustment Process
Step 1 Locate the Throttle Cable
The first step in adjusting the throttle cable is to locate it. In most vehicles, the throttle cable runs from the accelerator pedal to the throttle body. You may need to lie under the dashboard to access the pedal assembly or open the hood to reach the throttle body.
Step 2 Inspect for Damage
Before making any adjustments, inspect the throttle cable for signs of wear or damage, such as fraying, kinks, or corrosion. If you find any significant damage, consider replacing the cable rather than attempting an adjustment.
adjusting the throttle cable

Step 3 Check the Current Tension
With the vehicle turned off, push the accelerator pedal slowly to observe how the throttle responds. There should be slight slack in the cable before the throttle begins to open. If the throttle opens immediately, the cable may be too tight. Conversely, if there’s too much slack, the cable may be too loose.
Step 4 Adjust the Cable
Look for the adjustment mechanism on the throttle cable; this is often a threaded rod or a set of locking nuts. You may find it near the accelerator pedal or closer to the throttle body.
- To Increase Tension If too much slack is present, turn the adjustment nut clockwise to shorten the cable and increase tension. - To Decrease Tension If the cable is too tight, turn the nut counter-clockwise to lengthen the cable and reduce tension.
After making adjustments, always double-check to ensure that the throttle operates smoothly without excessive resistance or play.
Step 5 Test the Throttle
After adjusting the throttle cable, it’s important to test the vehicle. Start the engine and press the pedal to ensure a smooth and responsive throttle response. Listen for any unusual sounds and observe how the engine responds under various driving conditions.
Step 6 Final Adjustments
If you notice any further irregularities in throttle response, you might need to make additional fine-tuning adjustments. Keep in mind that minor adjustments can often make a big difference in performance.
Conclusion
Adjusting the throttle cable is a straightforward yet essential maintenance task that can greatly improve your vehicle's performance. By regularly checking and making necessary adjustments, you can ensure a smooth driving experience and extend the life of your engine components. If you feel uncomfortable performing this adjustment yourself, or if problems persist after adjustment, don't hesitate to seek professional assistance. The throttle is essential for your vehicle's performance, and it's worth ensuring that it functions optimally.
-
Upgrade Your Control with Premium Throttle CablesNewsAug.08,2025
-
Stay in Control with Premium Hand Brake CablesNewsAug.08,2025
-
Experience Unmatched Performance with Our Clutch HosesNewsAug.08,2025
-
Ensure Safety and Reliability with Premium Handbrake CablesNewsAug.08,2025
-
Enhance Your Vehicle with High-Performance Clutch LinesNewsAug.08,2025
-
Elevate Your Ride with Premium Gear CablesNewsAug.08,2025
