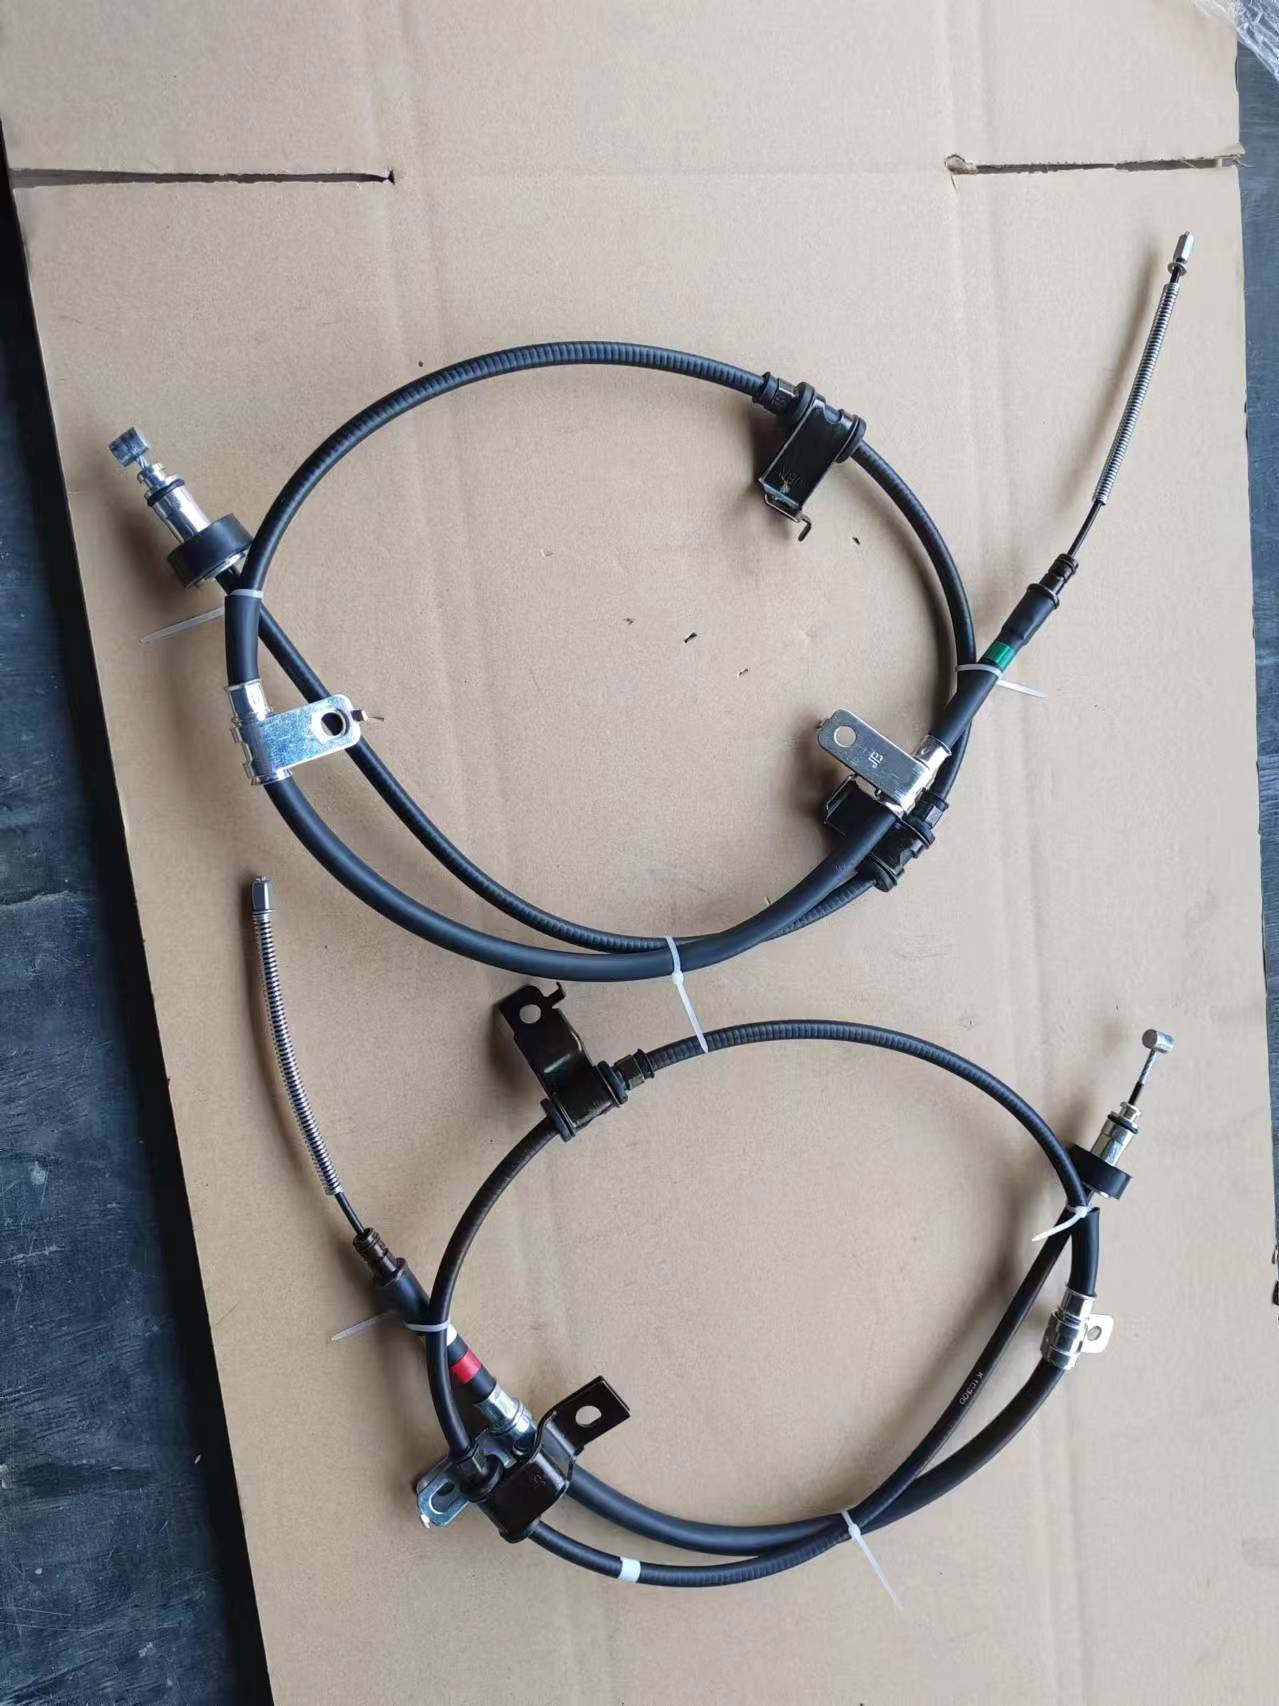
Adjusting and Replacing Gear Cables for Smooth Shifting and Optimal Bicycle Performance
Changing Gear Cables A Step-by-Step Guide for Cyclists
For cyclists, ensuring that your bike is in top condition is crucial for both performance and safety. One component that sometimes gets overlooked is the gear cable. These cables are responsible for shifting gears smoothly, and over time, they can fray, stretch, or become corroded, leading to poor shifting performance. Replacing your gear cables is a relatively simple process that can be done at home with a few basic tools. In this article, we’ll walk you through the steps of changing your gear cables.
Tools and Materials Needed
Before you start, make sure you have all the necessary tools and materials at your disposal. You will need
1. New gear cables (appropriate for your bike type). 2. Cable cutter or sharp scissors. 3. Allen wrenches (if your bike has a specific fastening system). 4. Screwdrivers (Phillips and flathead). 5. A 5 mm or 6 mm socket wrench (for some gear systems). 6. A small bowl or container (to hold the end caps). 7. Lubricant (optional).
Step 1 Remove the Old Cable
Begin by shifting your bike into the easiest gear. This position will help relieve tension on the cable, making it easier to remove. Locate the cable housing and disconnect it from the derailleur. You may have to unscrew a bolt or pull a quick-release mechanism, depending on your bike’s design.
Once the housing is detached, remove the cable from the shifter side. Feed the cable out of the housing. If the cable is stubborn and difficult to remove, don’t force it—consider cutting the cable if necessary, but remember that you’ll need to replace it anyway.
Step 2 Prepare the New Cable
Take your new gear cable and feed it through the housing. As you do this, ensure that there are no kinks or bends in the cable, as this can disrupt shifting. If you’re using a cable with a ferrule (the small metal tube that protects the end of the cable), make sure to secure it at the appropriate point on the housing.
changing gear cable

Step 3 Attach the New Cable
Next, attach the new cable to the derailleur. This typically involves threading the cable through a designated opening and securing it in place with a bolt. Make sure to pull the cable tight but not excessively; you still want to allow the derailleur to function smoothly.
After securing the cable at the derailleur, route it through the shifter. This can be a little tricky, as you may need to press a certain button or pull a lever on the shifter to create enough space to insert the cable. Once it’s in place, make sure to secure it as indicated by the manufacturer.
Step 4 Adjust the Tension
With the new cable installed, it’s time to adjust the tension. Shift through each gear to ensure they are engaging properly. You may need to adjust the tension using the barrel adjuster located on either the shifter or derailleur. Fine-tuning the tension will help improve shifting performance.
Step 5 Final Touches
Once you’re satisfied with the shifting, cut any excess cable and crimp the end caps onto the newly cut ends to prevent fraying. Give the derailleur and the cables a quick wipe down, and apply lubricant if necessary to keep everything moving smoothly.
Conclusion
Changing gear cables is a beneficial skill for any cyclist to master. Not only does it improve performance, but it also enhances the overall biking experience. Regular maintenance helps extend the life of your bike and prevents more significant issues down the line. So, gather your tools, and keep your bike in prime condition for your next ride!
-
Upgrade Your Control with Premium Throttle CablesNewsAug.08,2025
-
Stay in Control with Premium Hand Brake CablesNewsAug.08,2025
-
Experience Unmatched Performance with Our Clutch HosesNewsAug.08,2025
-
Ensure Safety and Reliability with Premium Handbrake CablesNewsAug.08,2025
-
Enhance Your Vehicle with High-Performance Clutch LinesNewsAug.08,2025
-
Elevate Your Ride with Premium Gear CablesNewsAug.08,2025
