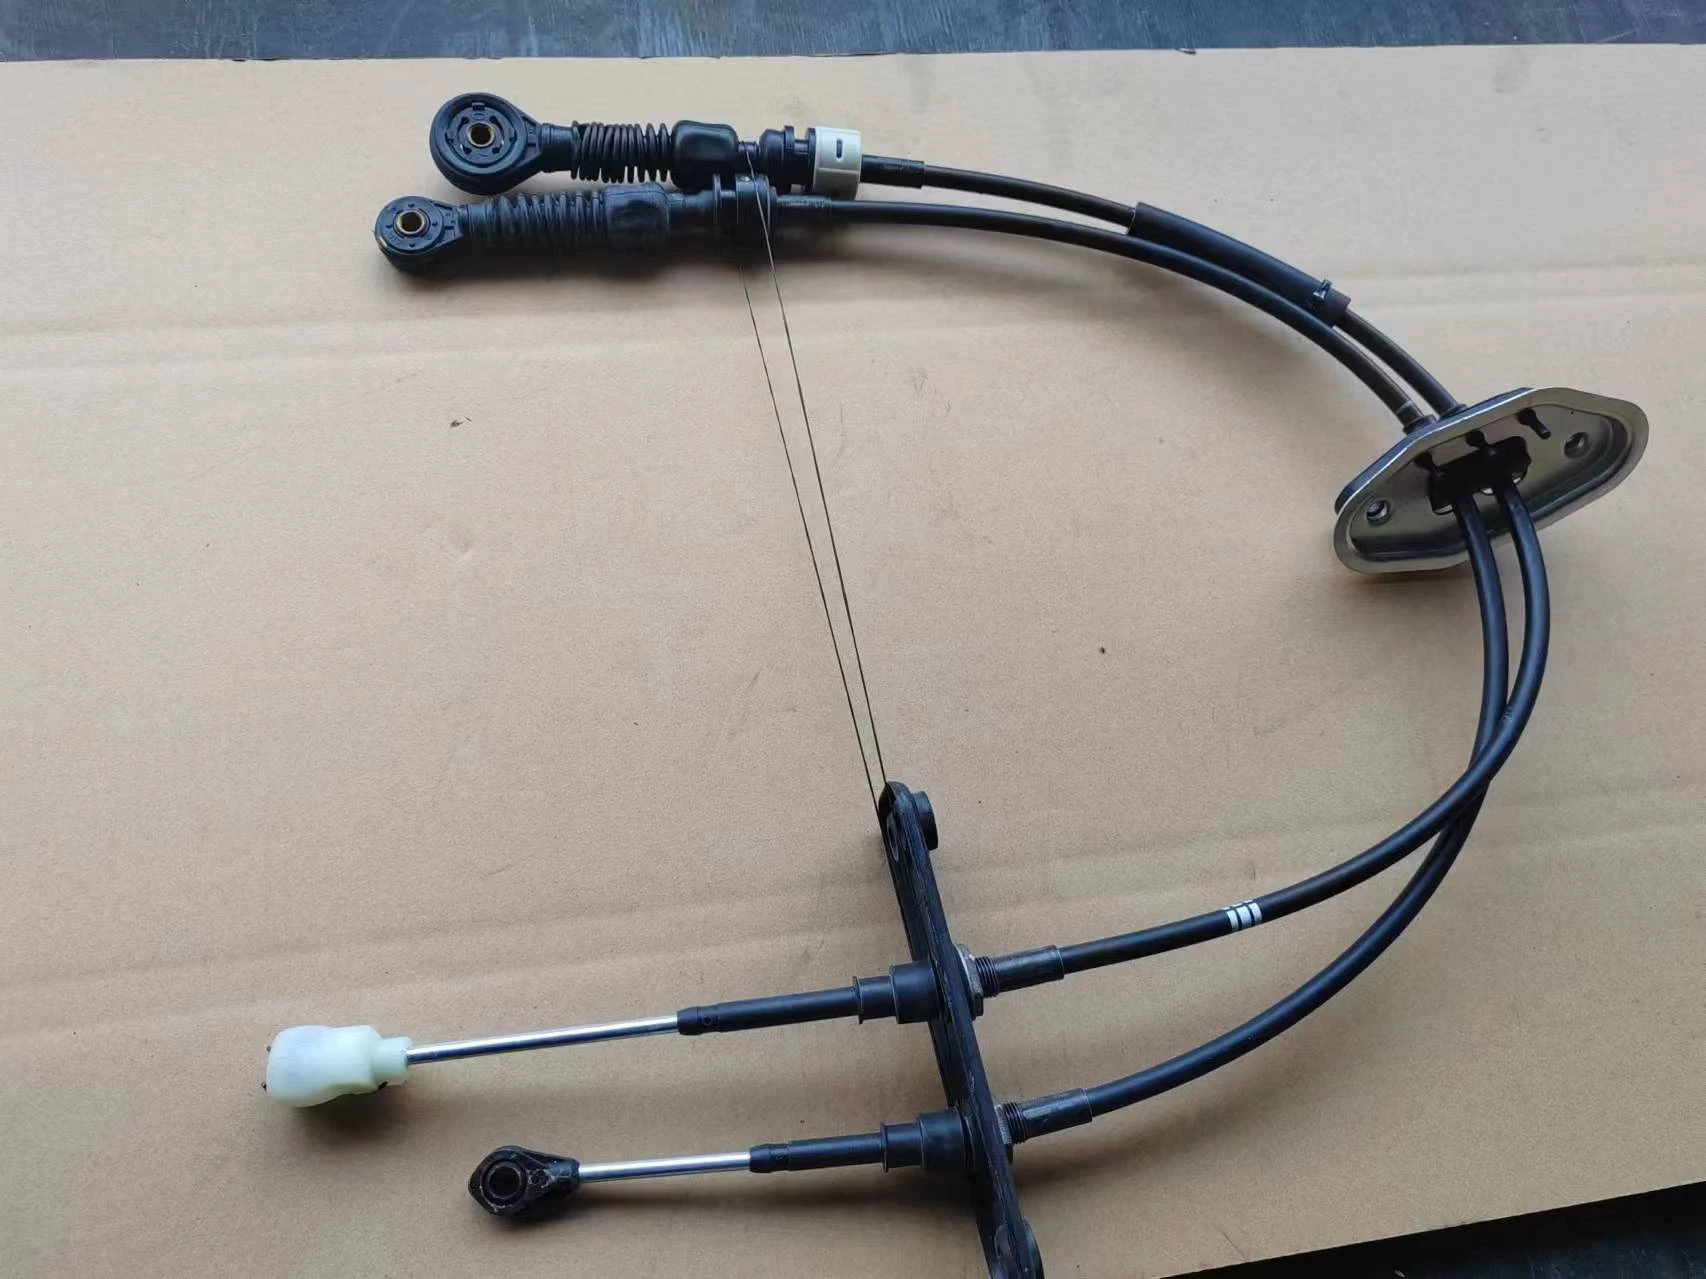
changing gear cable
Changing Gear Cable A Step-by-Step Guide
Changing the gear cable on your bicycle is an essential maintenance task that many riders need to undertake at some point. A well-functioning gear cable ensures smooth and precise shifting, which enhances your riding experience. Whether you're dealing with a frayed cable or one that has become sluggish, this guide will walk you through the process of changing your gear cable efficiently.
Tools Needed
Before you begin, gather the necessary tools. You will typically need - A new gear cable and housing - A cable cutter - Hex wrenches or screwdrivers (depending on your bike) - A shift lever or derailleur adjustment tool (optional but helpful) - Needle-nose pliers (for fine adjustments)
Step 1 Preparation
Start by shifting your bike into the smallest chainring and the smallest rear cog. This position relieves tension on the cable, making it easier to remove. Next, inspect the condition of your current cable and housing for any signs of wear or damage.
Step 2 Remove the Old Gear Cable
Locate the cable anchor bolt on the derailleur. Use a suitable tool (often a hex wrench) to loosen and remove it. This action allows you to free the old cable from the derailleur. Then, trace the cable through the housing to the shifter. Carefully remove any clips or guides holding the cable in place. Once you have accessed the shifter, release the tension and remove the cable completely from both ends.
Step 3 Install the New Cable
changing gear cable

Take your new gear cable and thread it through the shifter first. Make sure to insert it according to the manufacturer’s directions, ensuring it moves freely. Then, run the cable through the housing, which you should have replaced if it was damaged. The housing protects the cable from dirt and lessens friction, so having it in good condition is crucial for optimal performance.
Step 4 Attach the New Cable to the Derailleur
Once the cable is correctly threaded, attach it to the derailleur again by securing it with the anchor bolt. Be careful to pull the cable with just the right amount of tension; it should be tight enough to function without slack but not so tight that it hinders gear shifting.
Step 5 Adjusting the Tension
With the cable secured, it is essential to adjust the tension. Shift through the gears to see how they perform. If some gears do not shift smoothly, you may need to adjust the barrel adjuster on the shifter to fine-tune the cable tension. It’s a simple process—turn the adjuster clockwise to increase tension and counterclockwise to decrease it.
Step 6 Test Ride
Before hitting the trails, take your bike for a test ride. Pay attention to how smoothly the gears change. If you notice any irregularities, make additional adjustments to the cable tension until everything is functioning seamlessly.
In conclusion, changing a gear cable may seem daunting, but with the right tools and a little patience, it can be a straightforward task that greatly enhances your bike’s performance. Regular maintenance not only prolongs the life of your bicycle components but also contributes to a safer and more enjoyable ride. Happy cycling!
-
Upgrade Your Clutch System with Premium Hydraulic Clutch LinesNewsJul.31,2025
-
Unlock the Power of Precision with Our Throttle CablesNewsJul.31,2025
-
Unleash Power and Precision with Our Accelerator CablesNewsJul.31,2025
-
Experience Unmatched Safety with Premium Handbrake CablesNewsJul.31,2025
-
Enhance Your Vehicle's Performance with Quality Gear CablesNewsJul.31,2025
-
Workings of Clutch Pipe and Hose SystemsNewsJun.04,2025
