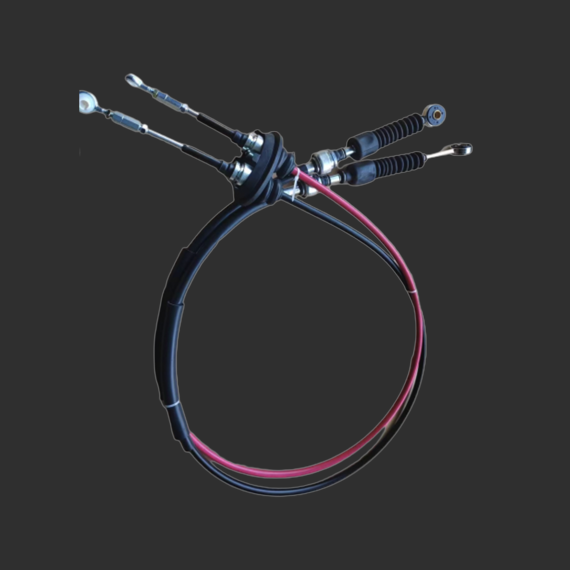
Universal Handbrake Cable for Enhanced Vehicle Performance and Easy Installation Options
The Essential Guide to Universal Handbrake Cables
In the realm of automotive maintenance and repair, one often overlooked yet crucial component is the handbrake cable. Often referred to as the brake cable, this part plays a pivotal role in the vehicle's braking system, particularly for securing the vehicle when parked. The universal handbrake cable offers a versatile solution that fits a variety of vehicles, making it a popular choice for both professionals and DIY enthusiasts alike.
Understanding Handbrake Cables
A handbrake cable connects the handbrake lever inside the vehicle to the brake mechanism at the wheels. Its primary function is to engage the brake when the handbrake is pulled, ensuring that the vehicle remains stationary. Over time, however, these cables can wear out, fray, or stretch, leading to decreased effectiveness of the handbrake. Recognizing the signs of a failing cable—such as a loose handbrake lever or difficulty in engaging the brake—is essential for maintaining vehicle safety.
The Advantages of Universal Handbrake Cables
One of the main advantages of universal handbrake cables is their flexibility and adaptability. Unlike vehicle-specific cables, universal cables can be modified to fit a wide range of makes and models. This is particularly beneficial for mechanics and car enthusiasts who work on various vehicles. Additionally, these cables often come with adjustable ends, allowing for the precise fit and tension adjustment required for optimal performance.
Installation Process
Installing a universal handbrake cable is a straightforward process, making it accessible even for those with limited mechanical experience. Here’s a step-by-step guide
1. Gather Tools and Materials Before starting, gather essential tools such as wrenches, a socket set, and pliers. You’ll also need the universal handbrake cable, which can be purchased from auto parts stores or online.
2. Lift the Vehicle Safely lift the vehicle using a jack and secure it with jack stands. This increases access to the undercarriage and rear brake components.
universal handbrake cable

3. Remove the Old Cable Take out the old handbrake cable. This usually involves disconnecting it from the handbrake lever and disengaging it from the brake mechanism at the rear wheels.
4. Measure and Cut the New Cable Compare the universal cable to the old one for length. If the new cable is too long, it may require cutting. Always leave a little extra length for adjustments.
5. Install the New Cable Thread the new cable through the appropriate channels, connecting it to the handbrake lever and the rear brakes. Ensure it moves freely without any obstruction.
6. Adjust Tension Once installed, adjust the tension of the cable to ensure the handbrake engages properly. Test the handbrake by pulling it and checking its effectiveness. The lever should feel firm, and the brake should engage fully.
7. Test Drive After installation, take the vehicle for a short test drive, focusing on the handbrake’s functionality. If the car rolls when the handbrake is engaged, further adjustments may be necessary.
Maintenance Tips
To prolong the lifespan of your handbrake cable, regular maintenance is crucial. Inspect the cable frequently for signs of wear or damage. Lubricating the cable can prevent rust and corrosion, ensuring smooth operation. Additionally, be mindful of the overall condition of the braking system and replace any other worn components as needed.
Conclusion
The universal handbrake cable is an excellent investment for any car owner or mechanic, combining versatility with reliability. By understanding how to select, install, and maintain these cables, you can ensure your vehicle’s handbrake system functions effectively, contributing to overall vehicle safety. Whether you’re tackling a DIY project or undertaking professional repairs, the universal handbrake cable is a component that should not be overlooked. Regular inspection and timely replacement will not only enhance your vehicle's performance but also provide peace of mind on the road.
-
Workings of Clutch Pipe and Hose SystemsNewsJun.04,2025
-
The Inner Workings of Hand Brake Cable SystemsNewsJun.04,2025
-
The Secrets of Throttle and Accelerator CablesNewsJun.04,2025
-
The Hidden Lifeline of Your Transmission Gear Shift CablesNewsJun.04,2025
-
Demystifying Gear Cables and Shift LinkagesNewsJun.04,2025
-
Decoding Clutch Line Systems A Comprehensive GuideNewsJun.04,2025
