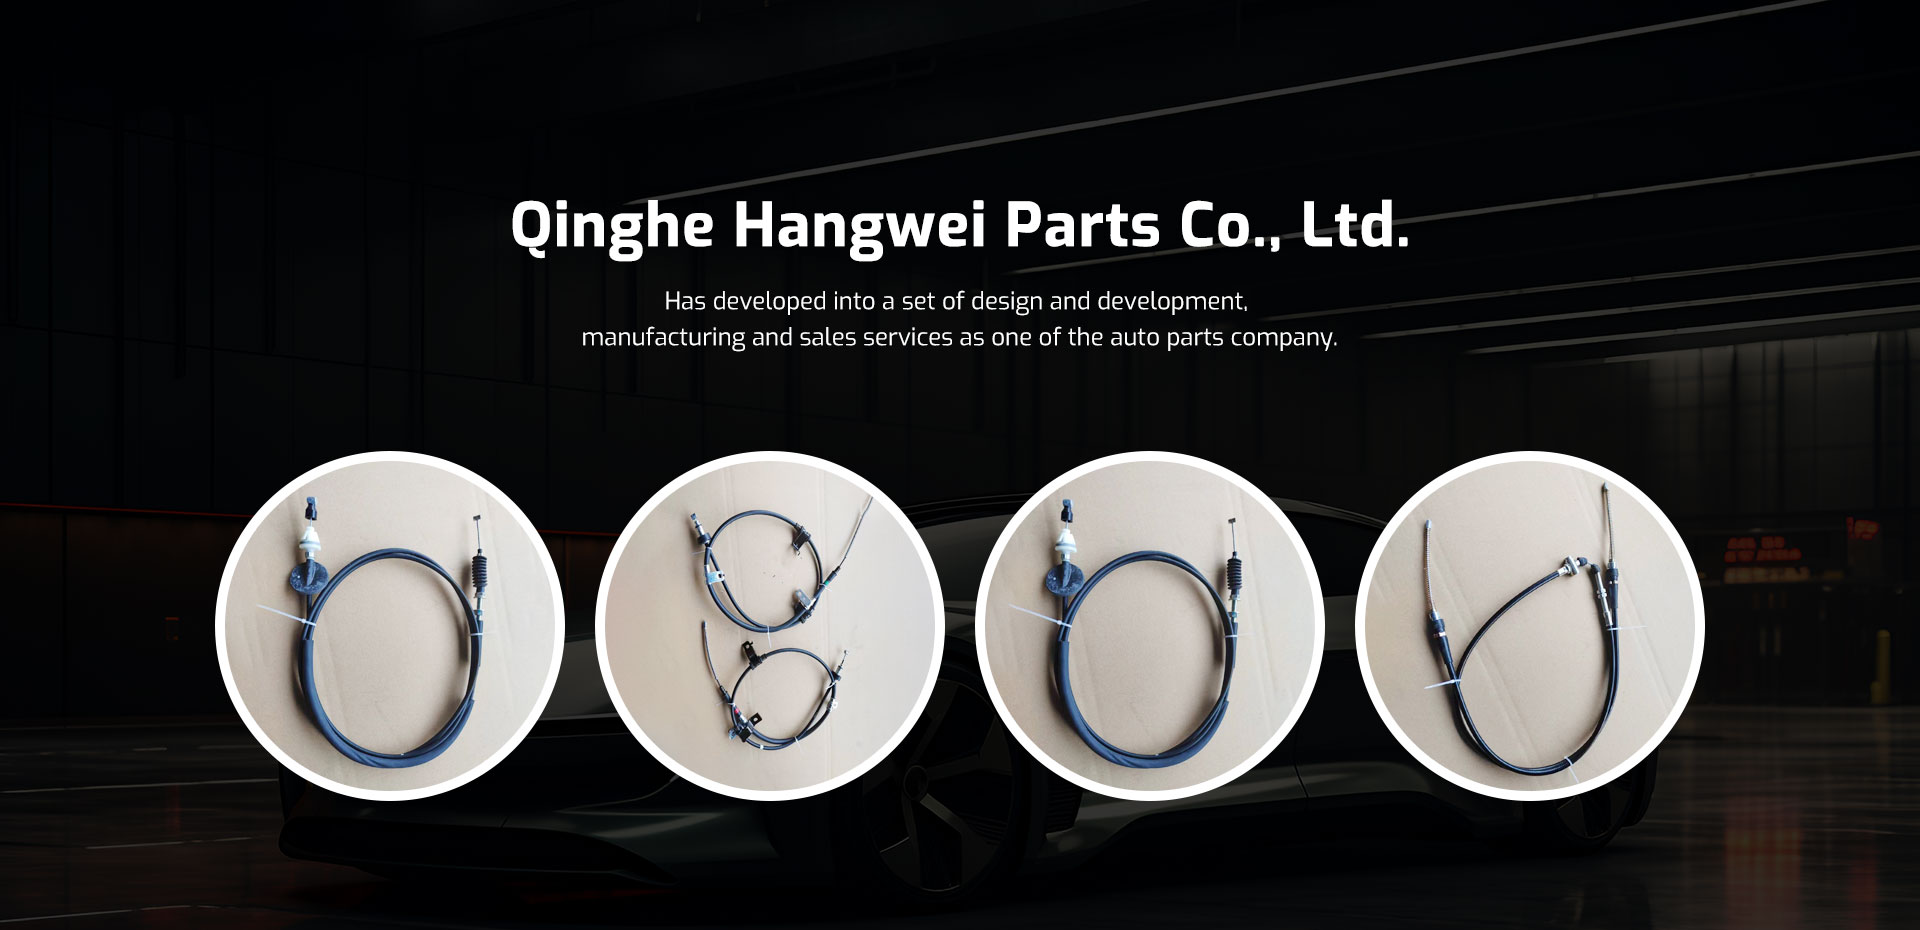
Universal Handbrake Cable Solution for Improved Vehicle Performance and Safety
Understanding the Universal Handbrake Cable A Comprehensive Guide
In the world of automotive repair and maintenance, the handbrake (or emergency brake) plays a crucial role in ensuring the safety of a vehicle. Among its critical components is the handbrake cable, a vital part that requires proper understanding and maintenance. This article will delve into the significance, functionality, and installation of the universal handbrake cable.
What is a Handbrake Cable?
The handbrake cable is a flexible steel wire that connects the handbrake lever inside the car to the rear brakes. When the driver pulls the handbrake lever, it tightens the cable, which activates the rear brakes, preventing the vehicle from rolling when parked. In essence, this cable is crucial for safety, especially on inclined surfaces.
Why Choose a Universal Handbrake Cable?
A universal handbrake cable is designed to fit a variety of vehicle makes and models. This flexibility not only simplifies the replacement process for mechanics but also provides an economical solution for car owners. Unlike vehicle-specific cables that might be hard to source or expensive, universal handbrake cables offer an accessible alternative that can meet the needs of many vehicles.
Key Features of Universal Handbrake Cables
1. Versatility As the name suggests, universal handbrake cables are versatile and compatible with multiple models. This adaptability makes it easier for mechanics to carry out repairs without needing an inventory filled with various specific cables.
2. Durability High-quality universal handbrake cables are made from robust materials that resist wear and tear. This feature is especially important considering the stress the cable endures over time.
3. Ease of Installation Most universal handbrake cables come ready to fit with little to no modification required. This ease of installation can save time and labor costs during repairs.
4. Affordability Usually, universal options are less expensive compared to OEM (Original Equipment Manufacturer) parts. This cost-effectiveness makes universal handbrake cables an attractive choice for budget-conscious consumers.
universal handbrake cable

Installation Process
While some vehicle owners may consider replacing a handbrake cable themselves, it’s essential to follow the right procedures for a safe and effective replacement. Here’s a simplified overview of the installation process
1. Gather Necessary Tools Ensure you have all the necessary tools on hand—typically, you’ll need wrenches, pliers, and a screwdriver.
2. Lift the Vehicle Use a jack to elevate the vehicle and secure it with jack stands. This ensures safety while you work underneath.
3. Remove the Old Cable Locate the handbrake cable and disconnect it from the handbrake lever and the rear brakes. You may need to remove panels or other components to access the cable properly.
4. Install the Universal Cable Take your universal handbrake cable and connect it first to the handbrake lever. Then, feed the cable through the appropriate points leading to the rear brakes, securing it as you go.
5. Adjust Tension Once installed, make necessary adjustments to ensure the cable has the right tension. This step is crucial to ensure the brakes engage and disengage correctly.
6. Test the Handbrake Functionality After installation, check the handbrake to ensure it holds the vehicle securely when in the ‘on’ position and releases properly.
Conclusion
Understanding the universal handbrake cable is essential for anyone involved in vehicle upkeep. With its versatility, durability, and affordability, this component stands out as a practical solution for many car owners and mechanics alike. Whether you choose to tackle the installation yourself or enlist the help of a professional, being informed will lead to better decisions regarding your vehicle’s safety and performance. Proper functioning of the handbrake system is vital, and an understanding of the importance of the handbrake cable will ensure that it remains a reliable safety feature of any vehicle.
-
Workings of Clutch Pipe and Hose SystemsNewsJun.04,2025
-
The Inner Workings of Hand Brake Cable SystemsNewsJun.04,2025
-
The Secrets of Throttle and Accelerator CablesNewsJun.04,2025
-
The Hidden Lifeline of Your Transmission Gear Shift CablesNewsJun.04,2025
-
Demystifying Gear Cables and Shift LinkagesNewsJun.04,2025
-
Decoding Clutch Line Systems A Comprehensive GuideNewsJun.04,2025
