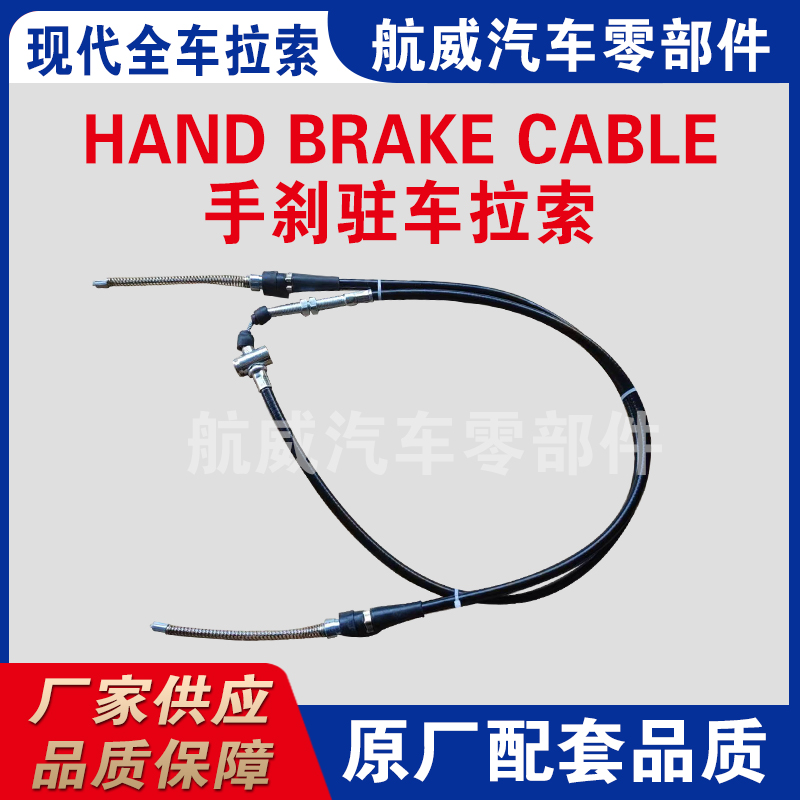
Adjusting and Repairing Your Throttle Cable for Optimal Performance and Safety
Fixing the Throttle Cable A Step-by-Step Guide
The throttle cable is a crucial component of any vehicle’s engine management system. It connects the accelerator pedal to the engine, allowing the driver to control the amount of air and fuel that enters the combustion chamber. Over time, throttle cables can stretch, fray, or become disconnected, leading to poor throttle response or even complete failure of the accelerator. In this article, we will discuss how to diagnose and fix throttle cable issues effectively.
Understanding the Throttle Cable
Before diving into the repair process, it’s essential to understand how the throttle cable functions. When the driver presses the accelerator pedal, the cable pulls a throttle plate open, allowing more air to flow into the engine. This increase in airflow prompts the engine control unit to inject more fuel, resulting in increased power output. A malfunctioning throttle cable can cause sluggish acceleration, stalling, or unintended acceleration, making it vital to address any issues promptly.
Identifying the Problem
The first step in fixing your throttle cable is diagnosing the problem. Common signs of a faulty throttle cable include
1. Unresponsive Accelerator If pressing the accelerator does not result in engine response, the cable may be broken or detached.
2. Sticking Pedal A throttle cable that is frayed or poorly lubricated may lead to a sticking pedal, which can be dangerous while driving.
3. Inconsistent Throttle Response If the engine struggles to gain power or accelerates unpredictably, the throttle cable may have improper tension or alignment.
Tools and Materials Needed
Before you begin the repair process, gather the following tools and materials
- Wrench set - Screwdriver set - Pliers - Lubricating oil (like WD-40 or a silicone-based lubricant) - Replacement throttle cable (if needed) - Safety gloves and goggles
Step-by-Step Repair Process
1. Safety First
Always start with safety. Make sure the vehicle is in park or neutral and that the engine is turned off. It is a good idea to disconnect the battery to prevent any electrical issues while working.
fixing throttle cable

2. Access the Throttle Cable
Locate the throttle cable under the hood of your vehicle. This may require removing the air intake system or other components to gain clear access. Consult your vehicle’s manual for specific details on accessing the cable.
3. Inspect the Cable
Once you have access, examine the cable for any visible signs of damage, such as fraying or corrosion. If the cable is damaged, it will need to be replaced. If it appears to be intact, check the connections to ensure they are secure and correctly aligned.
4. Lubrication
If the cable is sticking, apply a small amount of lubricating oil along its length. Be cautious not to over-lubricate, as excess oil could attract dirt and debris that may lead to further problems.
5. Adjusting Tension
If the throttle cable is too loose or too tight, it will need adjustment. Look for an adjustment mechanism near the throttle body and modify it as needed to ensure the cable has the right amount of tension for proper operation.
6. Replacement
If the cable is significantly damaged, it’s time to replace it. Disconnect the old cable from both the accelerator pedal and the throttle body. Install the new cable by reversing the removal process. Ensure it is correctly routed and secured.
7. Testing
After making the necessary repairs, reconnect the battery and start the engine. Test the accelerator pedal to ensure smooth operation and responsiveness.
Conclusion
Fixing a throttle cable may seem daunting, but with the proper tools and a little patience, it is a manageable task. Regular maintenance and inspection can prevent throttle cable issues from arising in the first place. Remember, a functional throttle cable is essential for safe and efficient driving, so don’t hesitate to address any problems you encounter promptly. By following this guide, you should be on your way to restoring optimal performance to your vehicle’s throttle system.
-
Workings of Clutch Pipe and Hose SystemsNewsJun.04,2025
-
The Inner Workings of Hand Brake Cable SystemsNewsJun.04,2025
-
The Secrets of Throttle and Accelerator CablesNewsJun.04,2025
-
The Hidden Lifeline of Your Transmission Gear Shift CablesNewsJun.04,2025
-
Demystifying Gear Cables and Shift LinkagesNewsJun.04,2025
-
Decoding Clutch Line Systems A Comprehensive GuideNewsJun.04,2025
