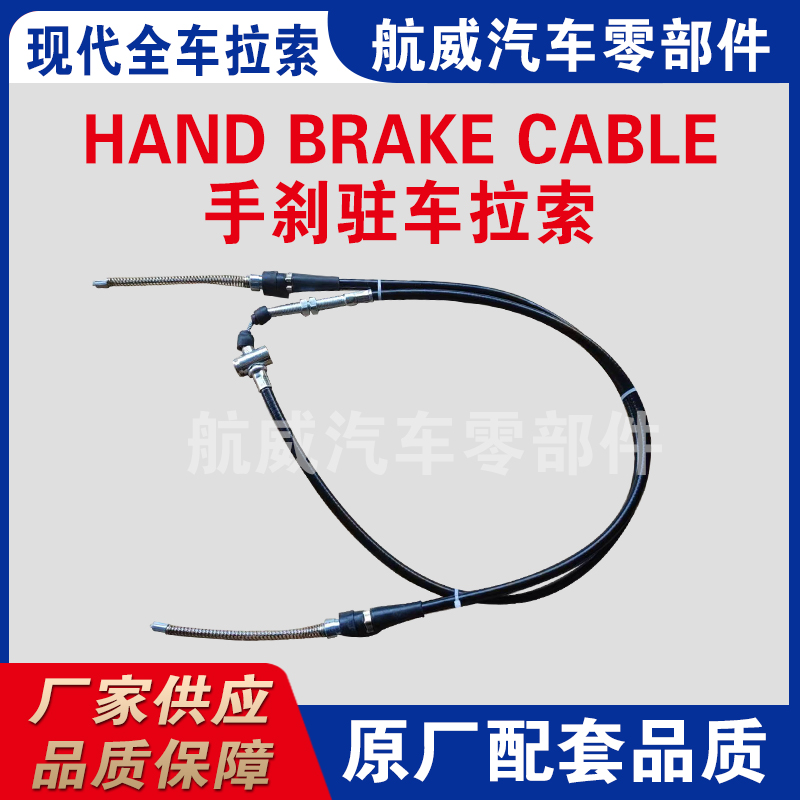
fixing throttle cable
Fixing the Throttle Cable A Step-by-Step Guide
The throttle cable is a crucial component in any vehicle, providing the connection between the accelerator pedal and the engine. If you experience issues like inconsistent acceleration or a non-responsive pedal, it may be time to examine and fix the throttle cable. This article will guide you through the process of diagnosing and fixing a faulty throttle cable.
Understanding the Throttle Cable
Before diving into the repair process, it's essential to understand the role of the throttle cable. In simpler terms, it allows you to control the vehicle's speed by manipulating the amount of air and fuel that enters the engine. This cable can wear out over time due to exposure to heat, friction, and general wear and tear. Signs that your throttle cable might be malfunctioning include a sticking accelerator pedal, erratic engine revs, or even a complete loss of responsiveness.
Tools You’ll Need
To start the repair, gather the following tools - Socket set - Screwdrivers (flathead and Phillips) - Pliers - Replacement throttle cable - Lubricant (like WD-40 or a similar product) - Rags for cleaning
Step-by-Step Fix
1. Safety First Before beginning any repair work, ensure that your vehicle is parked on a flat surface, and the engine is turned off. Always wear gloves and safety glasses for protection.
2. Locate the Throttle Cable Open the hood and identify the throttle cable. It typically runs from the accelerator pedal through the engine bay to the throttle body. Consult your owner’s manual for the exact location, as this can vary by vehicle make and model.
fixing throttle cable

3. Inspect the Cable Look for any visible signs of wear, fraying, or damage. If the cable appears damaged or is not moving smoothly, it may need replacement. Sometimes, the issue can be rectified by simply lubricating the cable.
4. Remove the Old Cable To do this, you may need to detach it from the accelerator pedal first. Locate the mounting hardware and carefully unscrew it. Next, trace the cable to the throttle body and unclip or unscrew it from there as well. Take care not to damage any surrounding components in the process.
5. Install the New Cable Take your new throttle cable and carefully route it through the same path as the old one. Connect it to the throttle body first, ensuring it's securely attached. Then, fasten it to the accelerator pedal, checking for proper movement.
6. Adjust the Cable After installation, make any necessary adjustments to ensure that the cable has the right amount of tension. You want it to allow full movement but not so loose that it causes delay in response.
7. Testing Before closing the hood, start the engine and press the accelerator pedal to test functionality. Ensure the throttle responds smoothly without sticking or lagging.
8. Final Checks Once everything is functioning correctly, clean up any tools or materials used during the process. Ensure that all components are securely in place.
Conclusion
Fixing a throttle cable can seem daunting, but with the right tools and a structured approach, it becomes a manageable task. Regular maintenance will extend the life of your throttle cable and enhance your vehicle's performance. Always consult your vehicle’s manual for specific instructions and safety precautions. If you encounter complex issues beyond a simple cable fix, don’t hesitate to consult a professional mechanic.
-
Workings of Clutch Pipe and Hose SystemsNewsJun.04,2025
-
The Inner Workings of Hand Brake Cable SystemsNewsJun.04,2025
-
The Secrets of Throttle and Accelerator CablesNewsJun.04,2025
-
The Hidden Lifeline of Your Transmission Gear Shift CablesNewsJun.04,2025
-
Demystifying Gear Cables and Shift LinkagesNewsJun.04,2025
-
Decoding Clutch Line Systems A Comprehensive GuideNewsJun.04,2025
