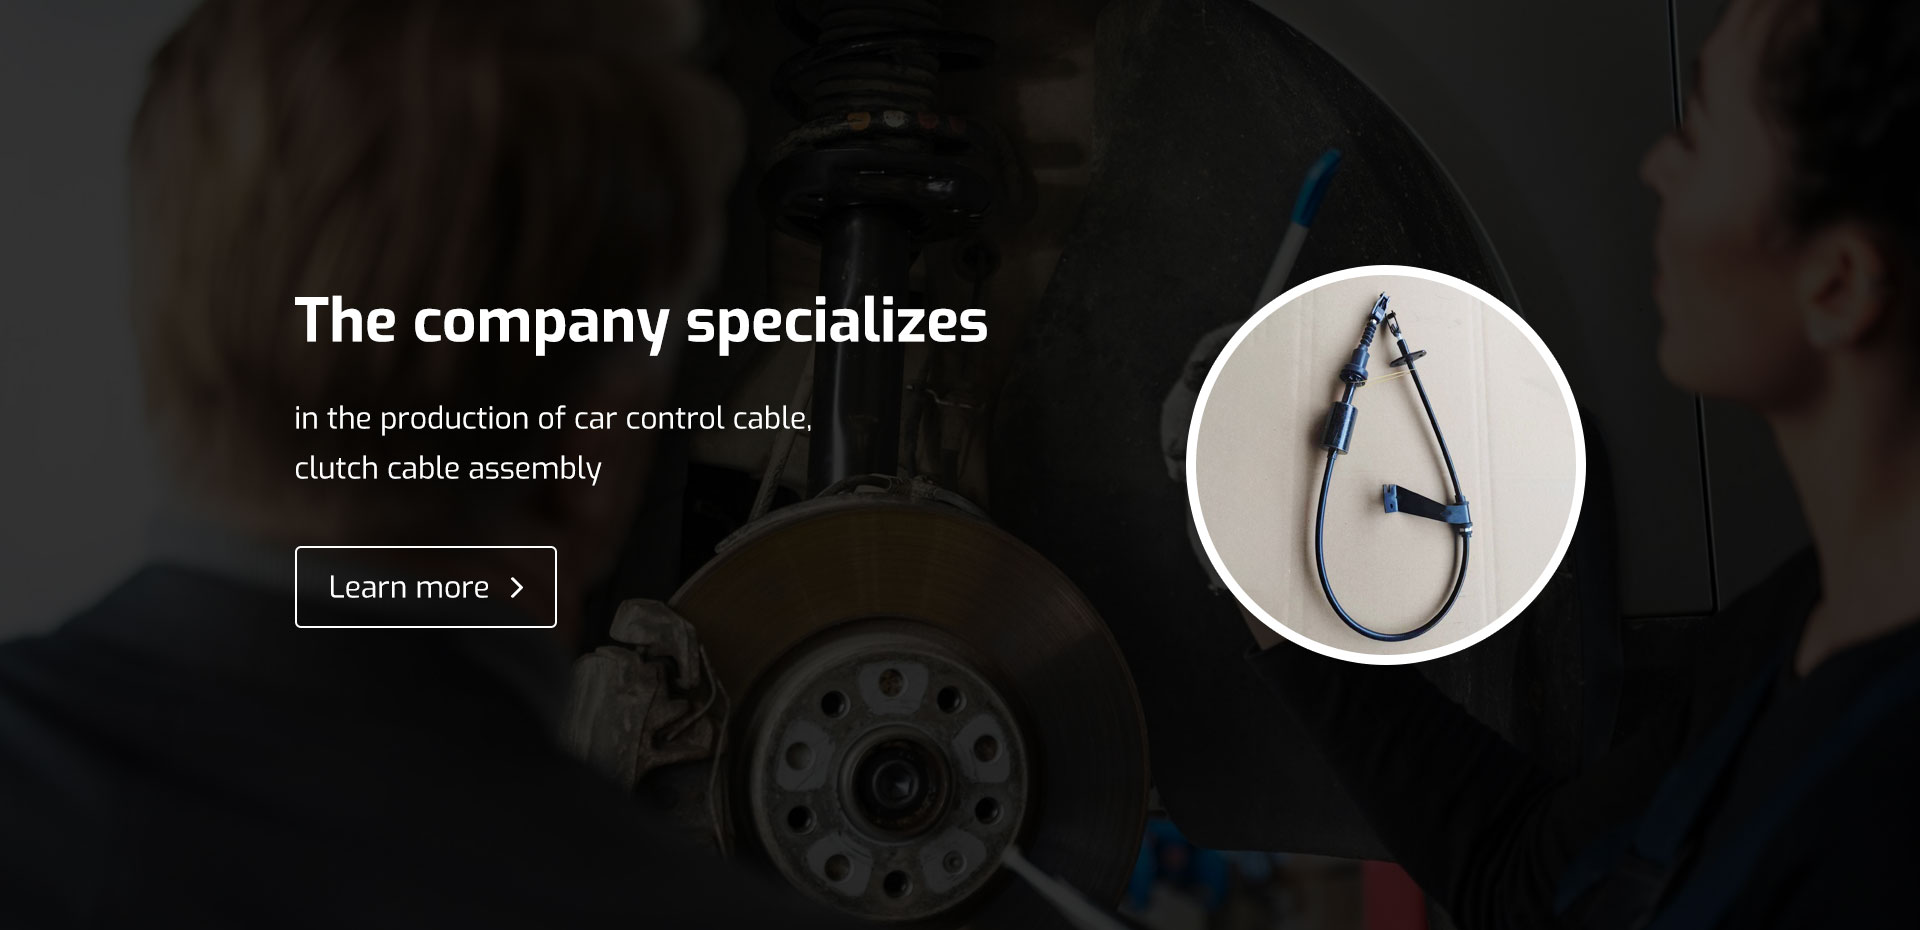
Adjusting Shifter Cable for Improved Gear Change Performance and Smooth Operation
Changing the Shifter Cable A Comprehensive Guide
The shifter cable is an essential component of any bicycle’s shifting system, connecting the shifter levers to the derailleur. Over time, these cables can fray, stretch, or become corroded, resulting in poor shifting performance and ultimately hindering your cycling experience. Therefore, knowing when and how to change your shifter cable is crucial for maintaining optimal bike performance. This article will guide you through the process of changing a shifter cable, ensuring you can keep your bike in top condition.
Recognizing the Need for Cable Replacement
Before diving into the replacement process, it's important to recognize the signs of a worn shifter cable. Common indicators include inconsistent shifting, a gritty feeling when shifting gears, or the shifter lever feeling unusually loose. Inspect your cable for any visible signs of wear, rust, or fraying. If you notice any of these symptoms, it’s time to consider replacing the shifter cable.
Tools Needed
To change your shifter cable, you will need a few basic tools 1. Allen wrenches (or other appropriate tools depending on your bike model) 2. Cable cutters 3. A new shifter cable 4. A cable housing (if necessary) 5. A screwdriver
Having a clean workspace is also essential, as it helps you keep track of small components that can easily be misplaced during the process
.Step-by-Step Process
1. Preparation Begin by shifting your bike into the largest chainring and the smallest rear sprocket. This ensures that there is minimal tension on the cable, making it easier to handle during the replacement.
changing shifter cable

2. Removing the Old Cable First, locate the cable anchor where the cable is secured to the derailleur. Use your Allen wrench to loosen this anchor and release the cable. Next, move up to the shifter and remove the cable housing if necessary. You may need to pull out the cable from the shifter mechanism as well.
3. Inspecting the Housing Examine the cable housing, and if you notice any signs of damage or kinks, it’s wise to replace it along with the cable. Cut the new housing to the appropriate length, ensuring it matches the old one.
4. Installing the New Cable Take your new shifter cable and thread it through the shifter first. Be sure to follow any internal routing paths as outlined in your bike’s manual. Once the cable is through, ensure it is adequately seated before moving to the derailleur.
5. Securing the Cable Thread the cable into the derailleur and pull it tight. Use the Allen wrench to fasten the cable anchor securely. Make sure that the cable is not too loose, as this can lead to poor shifting performance.
6. Testing Shifting With the new cable installed, check the shifting performance. Shift through all the gears to ensure smooth transitions and that the cable functions effectively. If adjustments are needed, consult your bike’s manual to fine-tune the derailleur settings.
7. Final Touches Once satisfied with the performance, trim any excess cable, and secure it with cable end caps to prevent fraying.
Conclusion
Changing the shifter cable is a relatively simple yet crucial maintenance task that can significantly enhance your bike's performance. Regularly inspecting and, when necessary, replacing the shifter cable can lead to better shifting efficiency, smoother rides, and an overall enjoyable cycling experience. By following the steps outlined in this guide, you’ll ensure your bike remains in peak condition, ready for any adventure on two wheels. Happy cycling!
-
Workings of Clutch Pipe and Hose SystemsNewsJun.04,2025
-
The Inner Workings of Hand Brake Cable SystemsNewsJun.04,2025
-
The Secrets of Throttle and Accelerator CablesNewsJun.04,2025
-
The Hidden Lifeline of Your Transmission Gear Shift CablesNewsJun.04,2025
-
Demystifying Gear Cables and Shift LinkagesNewsJun.04,2025
-
Decoding Clutch Line Systems A Comprehensive GuideNewsJun.04,2025
