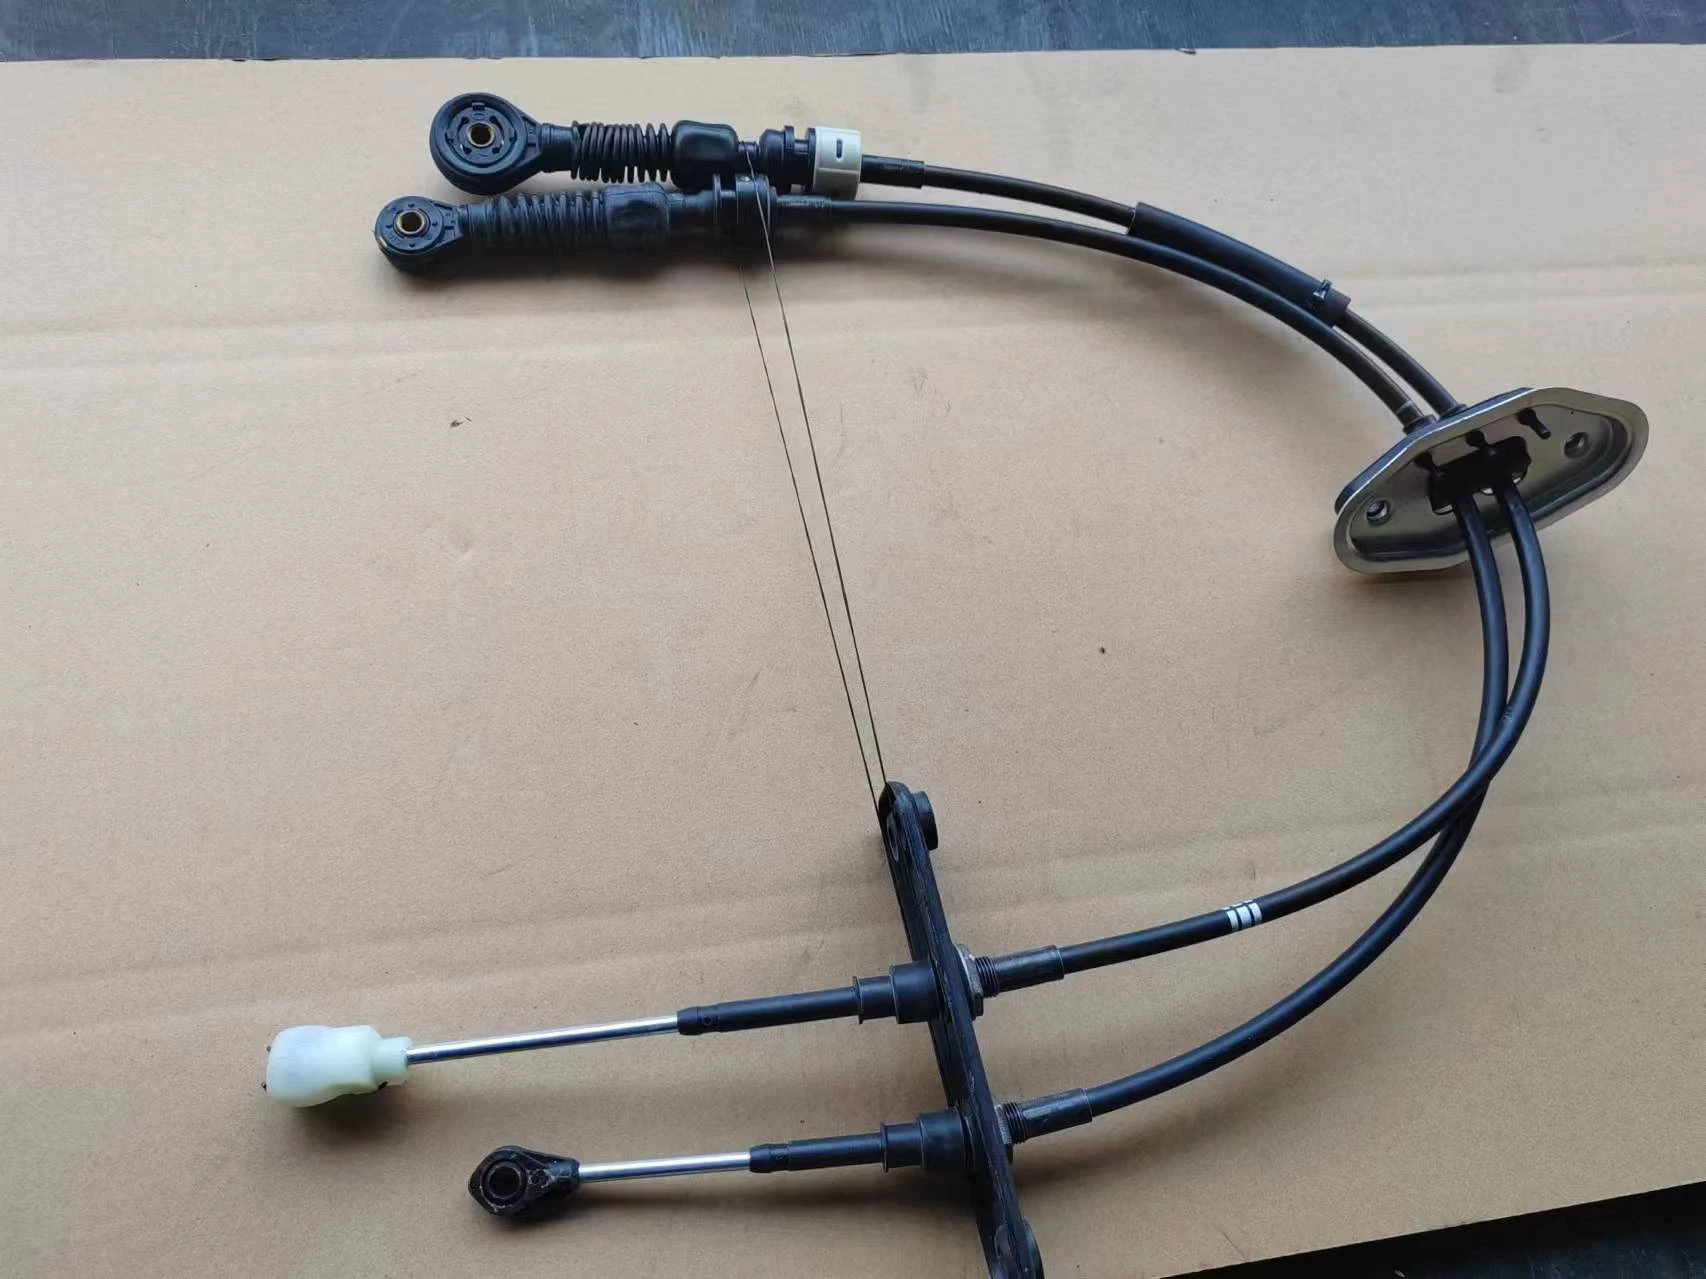
changing shifter cable
Changing the Shifter Cable A Step-by-Step Guide
The shifter cable is an essential component in your vehicle’s transmission system. It connects the gear shifter inside the cabin to the transmission, ensuring that the driver can smoothly change gears. Over time, shifter cables can wear out due to various factors such as heat, friction, and general usage. When this happens, you may experience difficulty in shifting gears, a sticking shifter, or even the inability to shift at all. If you find yourself in this situation, changing the shifter cable can restore the functionality of your vehicle’s transmission system.
Tools and Materials Needed
Before you begin, gather the necessary tools and materials a new shifter cable, a socket set, a wrench set, pliers, and a screwdriver. It might also be helpful to have a shop manual specific to your vehicle model as it can provide detailed instructions regarding the process.
Step-by-Step Process
1. Safety First Ensure the vehicle is parked on a flat surface. Engage the parking brake and disconnect the negative terminal of the battery to prevent any electrical issues.
2. Access the Shifter Remove any trim pieces around the gear shifter. This may require gently prying them off with a flathead screwdriver. Be cautious not to damage the trim or the clips holding it in place.
changing shifter cable

3. Disconnect the Old Cable Locate the two ends of the shifter cable. One end will be connected to the shifter assembly, while the other connects to the transmission. Depending on your vehicle, you may need to remove multiple components to access the transmission end. Use the appropriate tools to unclip or unscrew the cable from its attachments.
4. Install the New Cable Take your new shifter cable and route it through the same path as the old one. Make sure it’s not pinched or obstructed. Connect one end to the transmission and the other to the shifter assembly, ensuring that all clips or screws are secure.
5. Reassemble the Interior Once the new cable is in place, reattach any trim pieces around the gear shifter. Double-check that everything is in its correct position and properly secured.
6. Reconnect the Battery Reconnect the negative terminal of the battery and start the engine. Test the functionality of the new shifter cable by shifting through all the gears.
7. Final Check Ensure there are no unusual noises or resistance while shifting. If everything feels smooth, you’ve successfully changed the shifter cable.
Conclusion
Changing the shifter cable may seem daunting, but with the right tools and a little patience, it can be done by most DIY enthusiasts. Regular maintenance and prompt replacement when necessary can lead to smoother shifts and a more pleasant driving experience. If you encounter any issues during the process, don’t hesitate to consult a professional mechanic for assistance.
-
Workings of Clutch Pipe and Hose SystemsNewsJun.04,2025
-
The Inner Workings of Hand Brake Cable SystemsNewsJun.04,2025
-
The Secrets of Throttle and Accelerator CablesNewsJun.04,2025
-
The Hidden Lifeline of Your Transmission Gear Shift CablesNewsJun.04,2025
-
Demystifying Gear Cables and Shift LinkagesNewsJun.04,2025
-
Decoding Clutch Line Systems A Comprehensive GuideNewsJun.04,2025
