
Feb . 19, 2025 12:07
Back to list
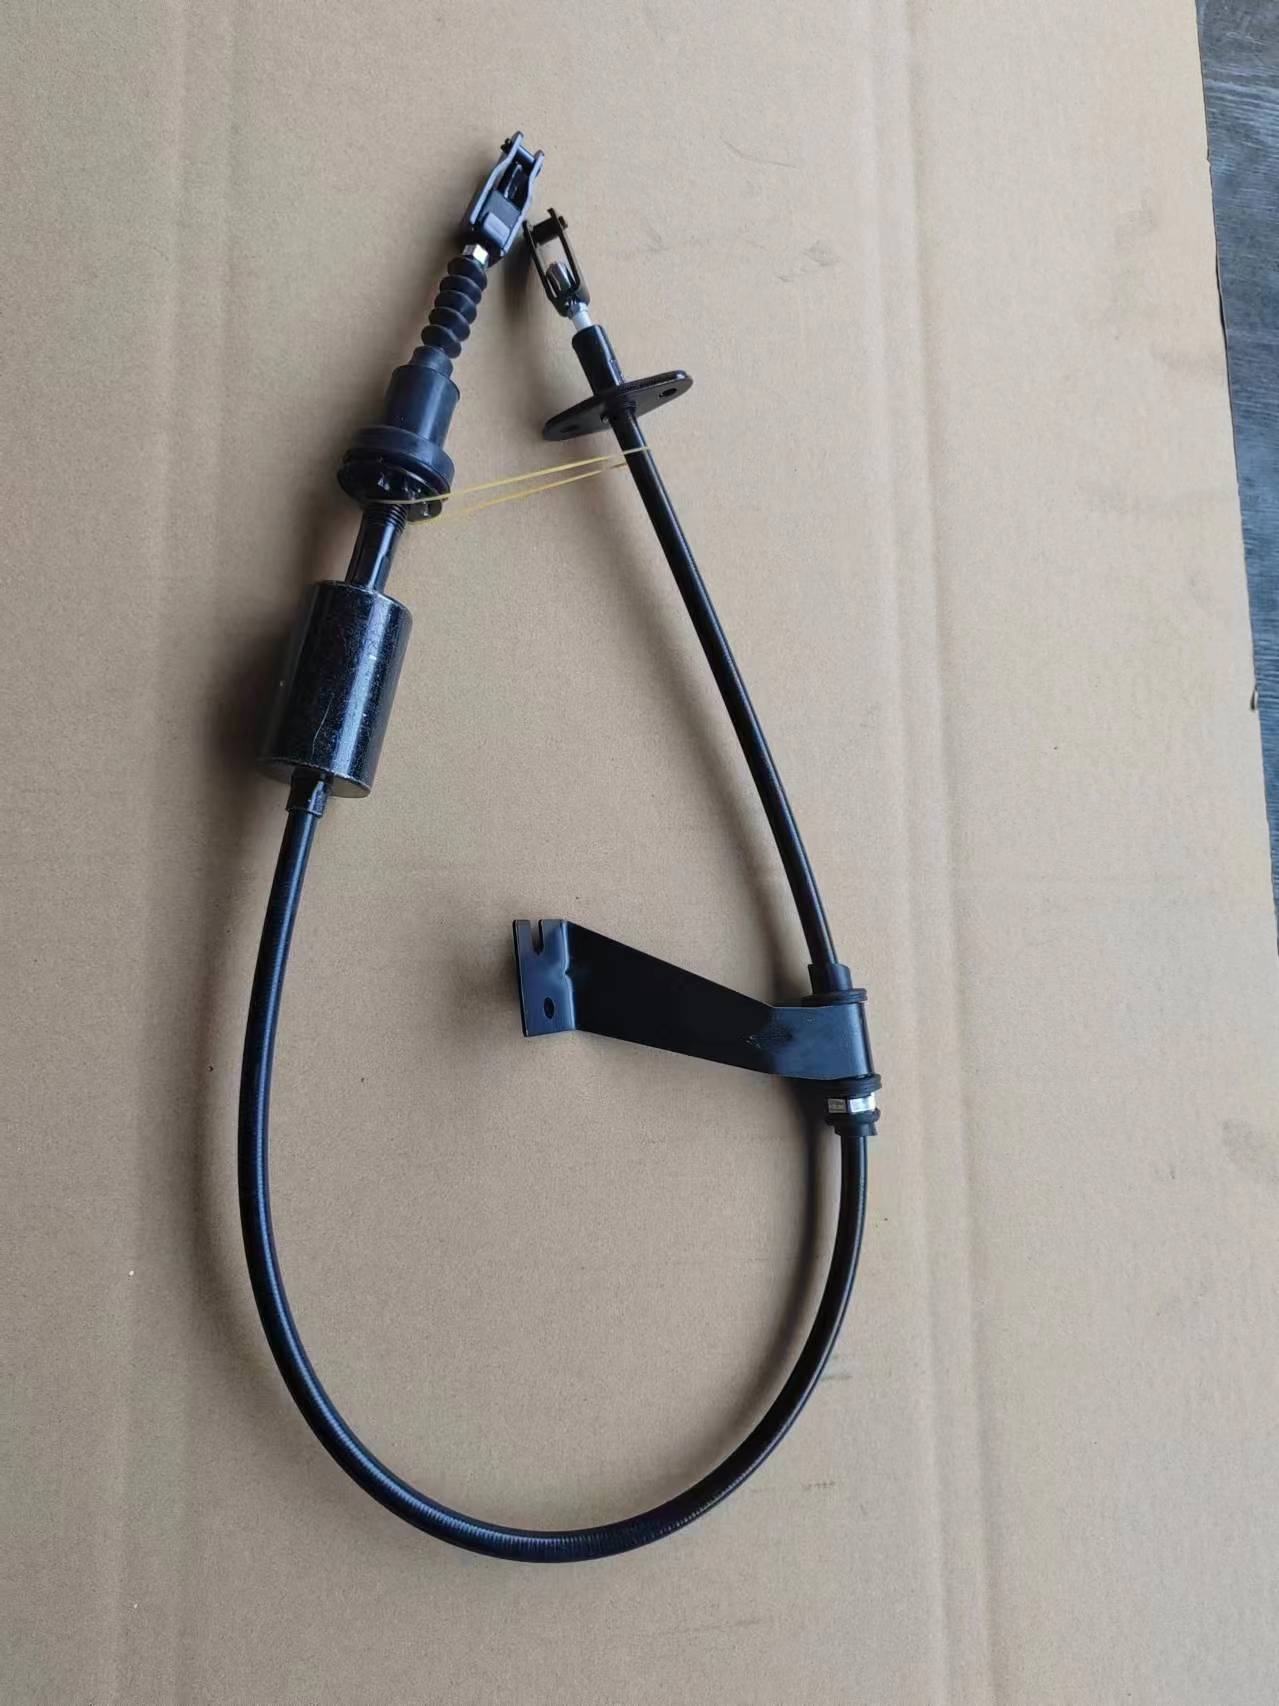
Shift Selector Cable
Changing a gear cable might seem like a daunting task, but with the right knowledge and tools, it can be a straightforward process that enhances the performance and lifespan of your bicycle. As an experienced cycling enthusiast, I've had the opportunity to delve into the intricacies of bike maintenance, and changing the gear cable is a quintessential skill worth mastering. This article aims to provide a detailed guide on the process and importance of gear cable replacement, drawing on expertise and professional insights to ensure both precision and thorough understanding.
Equally critical is the process of adjusting the cable tension to ensure optimal shifting performance. Tighten the barrel adjuster on the derailleur slightly, tightening or loosening as needed until the gears shift smoothly across the cassette. This fine-tuning stage may require a few trial-and-error attempts to find the perfect tension. With the cable in place, don’t forget the finishing touches. Trim any excess cable using cable cutters and cap the ends with a ferrule to prevent fraying. Lastly, give your bike a thorough test ride to ensure the new gear cable provides crisp and efficient gear changes. The process of changing a gear cable is not only essential for maintaining your bike’s functionality but also offers a rewarding experience of self-sufficiency and expertise. Regular maintenance, such as timely cable replacement, significantly reduces the risk of on-road failures and extends the overall lifespan of your bicycle components. From a professional standpoint, maintaining a bike with precision involves understanding how different components interact and recognizing the importance of proactive care. Trustworthiness is built when riders realize that such preventative measures can markedly improve their biking experiences without the need for frequent professional intervention. In conclusion, gear cable replacement is a necessary skill for any serious cyclist. It is a testament to the rider's commitment to ensuring their equipment is in top condition and ready to face any challenges. By undertaking this task personally, cyclists not only enhance their problem-solving skills but also cultivate a deeper connection with their bikes. This expertise enables them to make informed decisions regarding other maintenance tasks, fostering a culture of trust and reliability in their biking equipment.

Equally critical is the process of adjusting the cable tension to ensure optimal shifting performance. Tighten the barrel adjuster on the derailleur slightly, tightening or loosening as needed until the gears shift smoothly across the cassette. This fine-tuning stage may require a few trial-and-error attempts to find the perfect tension. With the cable in place, don’t forget the finishing touches. Trim any excess cable using cable cutters and cap the ends with a ferrule to prevent fraying. Lastly, give your bike a thorough test ride to ensure the new gear cable provides crisp and efficient gear changes. The process of changing a gear cable is not only essential for maintaining your bike’s functionality but also offers a rewarding experience of self-sufficiency and expertise. Regular maintenance, such as timely cable replacement, significantly reduces the risk of on-road failures and extends the overall lifespan of your bicycle components. From a professional standpoint, maintaining a bike with precision involves understanding how different components interact and recognizing the importance of proactive care. Trustworthiness is built when riders realize that such preventative measures can markedly improve their biking experiences without the need for frequent professional intervention. In conclusion, gear cable replacement is a necessary skill for any serious cyclist. It is a testament to the rider's commitment to ensuring their equipment is in top condition and ready to face any challenges. By undertaking this task personally, cyclists not only enhance their problem-solving skills but also cultivate a deeper connection with their bikes. This expertise enables them to make informed decisions regarding other maintenance tasks, fostering a culture of trust and reliability in their biking equipment.
Next:
Latest news
-
Workings of Clutch Pipe and Hose SystemsNewsJun.04,2025
-
The Inner Workings of Hand Brake Cable SystemsNewsJun.04,2025
-
The Secrets of Throttle and Accelerator CablesNewsJun.04,2025
-
The Hidden Lifeline of Your Transmission Gear Shift CablesNewsJun.04,2025
-
Demystifying Gear Cables and Shift LinkagesNewsJun.04,2025
-
Decoding Clutch Line Systems A Comprehensive GuideNewsJun.04,2025