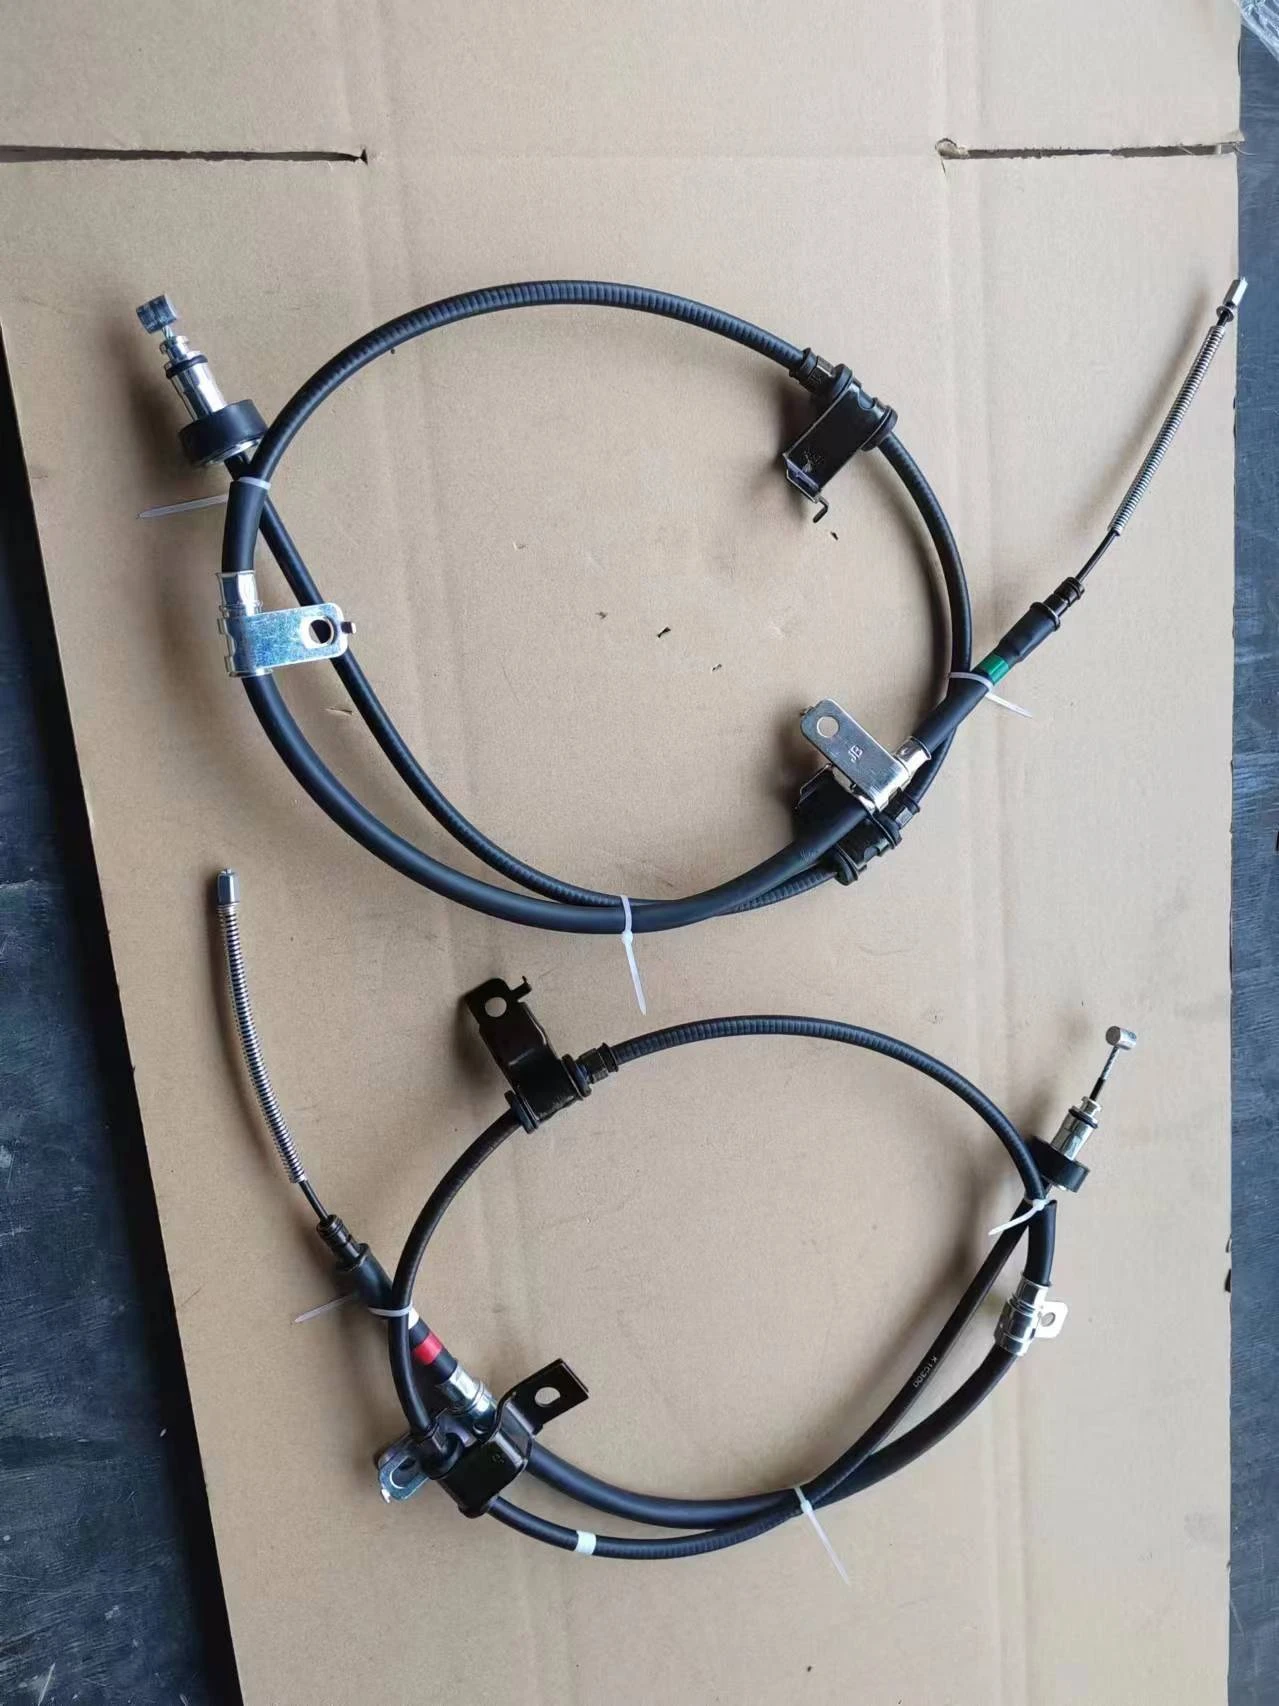
changing gear cable
Changing Gear Cable A Comprehensive Guide
Changing the gear cable on your bicycle is an essential maintenance task that can significantly enhance your riding experience. Whether you’re experiencing shifting issues or want to ensure optimal performance for your bike, replacing the gear cable is a straightforward process that can usually be undertaken at home with the right tools. This article will provide you with a step-by-step guide on how to change your gear cable, ensuring that your bike is ready for the road.
Why Change Your Gear Cable?
Over time, gear cables can become frayed, corroded, or stretched, leading to poor shifting performance. Symptoms of a worn cable include skipping gears, sluggish shifting, and an inability to shift properly. Regularly checking and replacing the gear cable when needed can prevent these issues and prolong the life of your bike’s drivetrain.
Tools and Materials Needed
Before starting, gather the necessary tools and materials - New gear cable - Cable cutters - Allen wrenches - Adjustable wrench - Screwdriver - Lubricant (optional) - Needle-nose pliers (optional) - Bike stand (optional, but helpful)
Step-by-Step Guide to Changing Gear Cable
1. Preparation Begin by securing your bike in a bike stand or flipping it upside down. This will provide a stable working environment. Shift your bike into the easiest gear so that there is less tension on the cable.
2. Remove the Old Cable Locate the derailleur and the cable anchor bolt where the cable is connected. Using an Allen wrench or a screwdriver, carefully loosen and remove the cable from the derailleur. If there is any tension in the cable, gently pull it to relieve the tension before removing it completely.
changing gear cable

3. Inspect the Housing Once the cable is free, check the cable housing for any signs of wear or damage. If the housing appears frayed or contaminated, it’s a good idea to replace it alongside the cable. You may cut the new housing to the required length, ensuring it matches the old one.
4. Install the New Cable Thread the new gear cable through the housing, starting from the handlebar end. Ensure that the cable runs smoothly through all cable guides and is correctly positioned in the derailleur.
5. Set the Cable Tension Once you have threaded the cable through, bring it down to the derailleur and feed it through the cable anchor bolt. Tighten the bolt securely with an Allen wrench, but be careful not to overtighten it, as you could strip the threads.
6. Adjust the Derailleur After securing the cable, adjust the derailleur settings to ensure smooth shifting. This may involve tweaking the limit screws and adjusting the barrel adjuster to achieve optimal tension. It’s advisable to have the bike in a stand to test gear shifts while making these adjustments.
7. Final Adjustments and Testing With the new cable in place, take your bike for a short test ride. Pay attention to how it shifts through all the gears. If you experience any issues, you may need to readjust the barrel adjuster or check the positioning of the derailleur again.
8. Lubrication Finally, consider applying a light lubricant to the exposed parts of the cable and derailleur for smoother operation, but be cautious not to over-lubricate, as this can attract dirt.
Conclusion
Changing the gear cable on your bicycle is an easy yet significant maintenance task that can greatly improve your bike's performance and longevity. By following this guide, you can ensure that your bike remains responsive and fun to ride. Regularly checking your bike’s components will help you catch issues like a frayed gear cable before they lead to bigger problems, ensuring many enjoyable rides to come. Remember, a well-maintained bike not only enhances your cycling experience but also keeps you safe on the road. So gear up, and get ready for your next adventure!
-
Workings of Clutch Pipe and Hose SystemsNewsJun.04,2025
-
The Inner Workings of Hand Brake Cable SystemsNewsJun.04,2025
-
The Secrets of Throttle and Accelerator CablesNewsJun.04,2025
-
The Hidden Lifeline of Your Transmission Gear Shift CablesNewsJun.04,2025
-
Demystifying Gear Cables and Shift LinkagesNewsJun.04,2025
-
Decoding Clutch Line Systems A Comprehensive GuideNewsJun.04,2025
