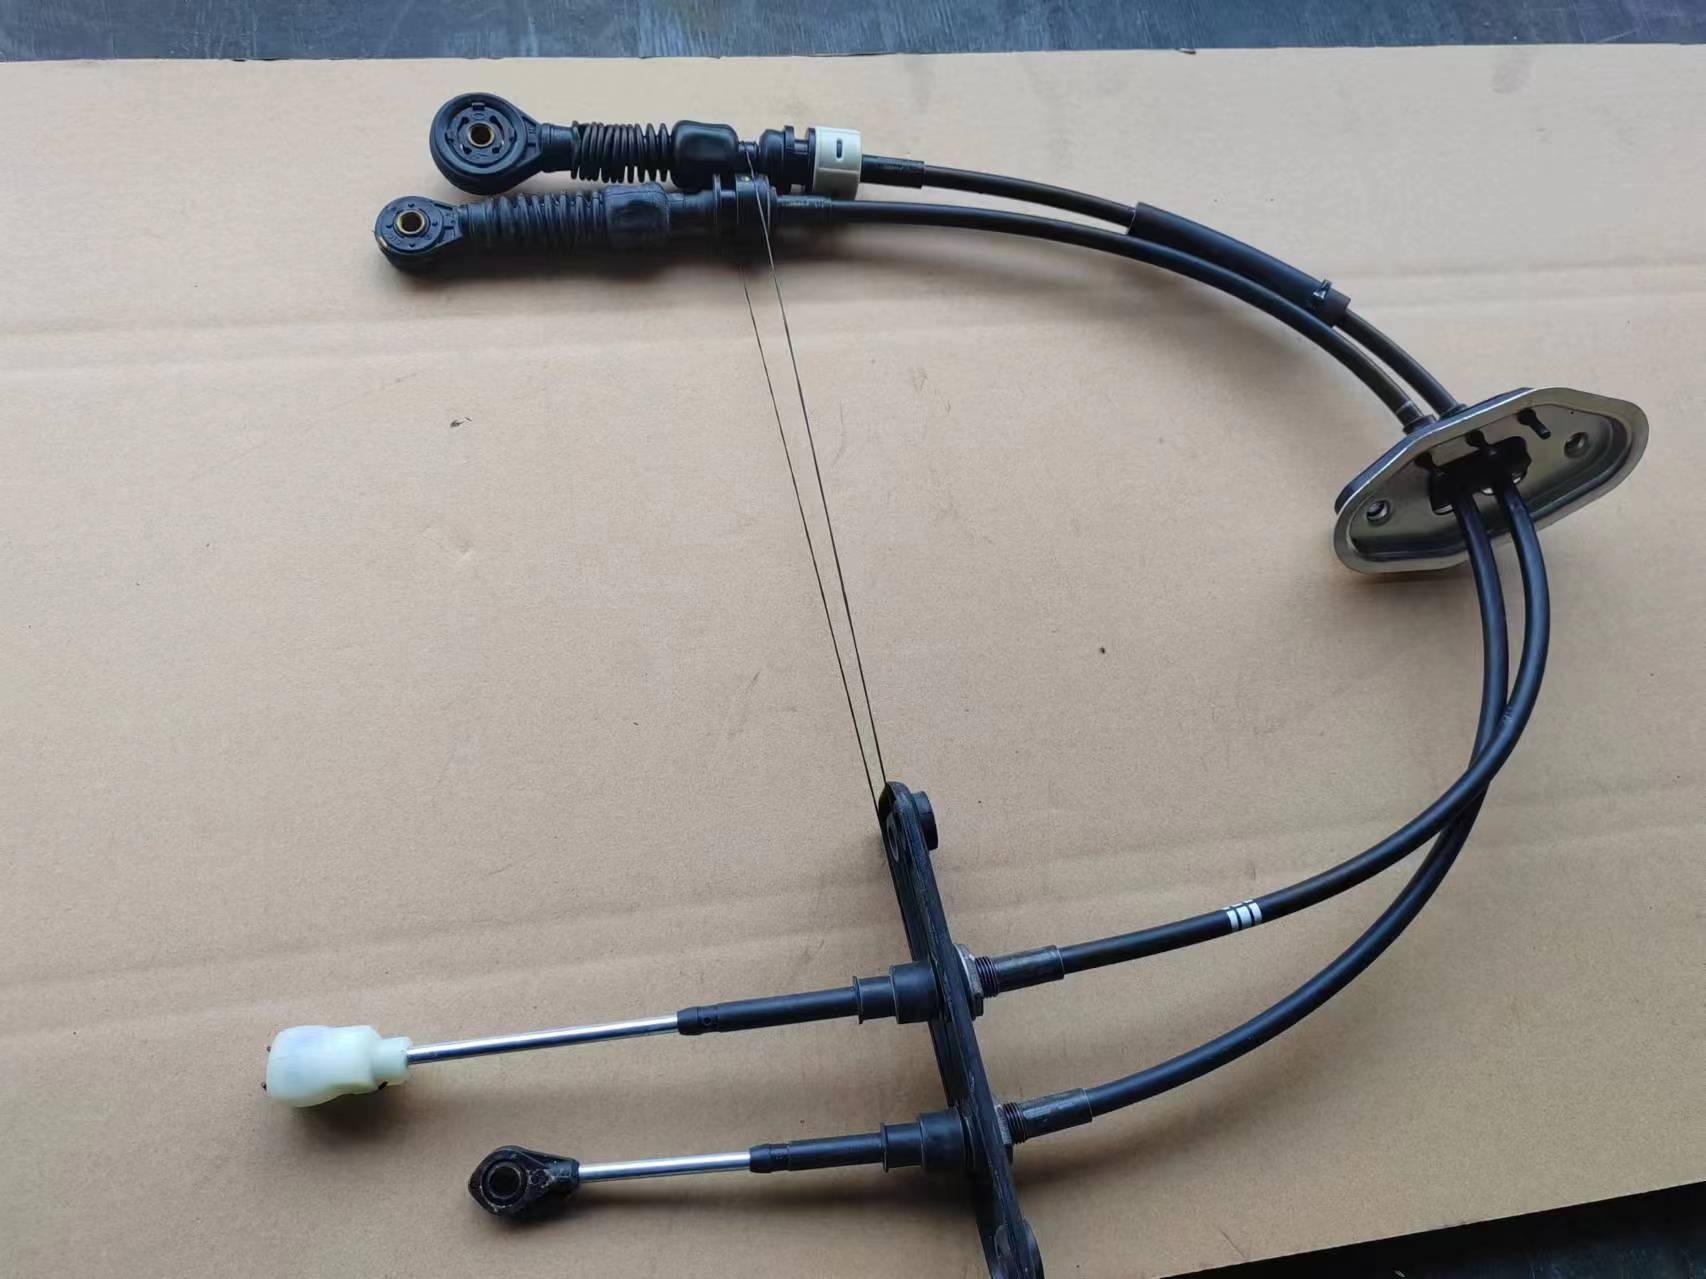
Replacing Gear Shift Cable for Improved Performance and Smooth Operation
How to Change a Gear Cable A Step-by-Step Guide
Changing the gear cable on your bicycle may seem daunting for many riders, but it's an essential maintenance task that can greatly enhance your bike's performance. Over time, cables can stretch, fray, or become corroded, leading to poor shifting and an overall unsatisfactory riding experience. In this guide, we will break down the process into manageable steps, ensuring you can confidently tackle the task.
Tools and Materials Needed
Before you start, gather the necessary tools and materials
1. New gear cable – Make sure it’s compatible with your bike's gear system. 2. Cable cutters – For precise cutting of the new cable. 3. Allen wrenches – These will help remove components if necessary. 4. Screwdriver – A flathead or Phillips screwdriver may be needed. 5. Pliers – Useful for cable adjustment. 6. Lubricant – Optional, but recommended for smooth operation.
Step 1 Prepare Your Bicycle
First, ensure your bicycle is in a stable position. Place it on a bike stand if you have one; if not, flipping it upside down works too. This step will give you better access to the gears and cables.
Step 2 Inspect the Current Cable
Before you remove anything, take a good look at your current gear cable. Identify how it is routed and where it connects to the derailleurs. Noting these details will help you install the new cable correctly.
Step 3 Remove the Old Gear Cable
1. Shift into the easiest gear Before you begin, shift your bike into its easiest gear (typically the largest chainring and the largest rear cog). This position will release tension on the cable. 2. Locate the cable anchor bolt Find the bolt that holds the cable in place at the derailleur. Using the appropriate Allen wrench, loosen the bolt enough to free the cable.
3. Remove the cable Carefully pull the cable out of the housing and from the shifter. If it's stuck, gently wiggle it to free it.
changing gear cable

4. Remove the housing Depending on your bike, you may need to remove the outer cable housing from the frame and derailleur as well.
Step 4 Install the New Gear Cable
1. Feed the new cable Take your new gear cable and feed it through the same path as the old one. Start by inserting it into the shifter, then thread it through the outer housing and all the way to the derailleur.
2. Secure the cable Once you’ve fed it through, pull it tight and attach it to the derailleur by tightening the anchor bolt. Make sure the cable is taut, but do not over-tighten it as this could damage the derailleur.
3. Adjust housing length Ensure that the outer housing is cut to the correct length if necessary. It should fit snugly without any kinks or bends that could impede cable movement.
Step 5 Final Adjustments
1. Test shifting Shift through the gears while the bike is stationary. Make any necessary adjustments to the cable tension by using the barrel adjuster located on the shifter or derailleur. A small turn can make a significant difference in shifting performance.
2. Check the function After making adjustments, take your bike for a test ride. Shift through all the gears to ensure they engage smoothly and accurately.
3. Tweak if necessary If you notice any misalignments or if certain gears don’t shift properly, return to the barrel adjuster and make slight adjustments until everything operates smoothly.
Conclusion
Changing a gear cable is an essential skill that every cyclist should have. Not only does it enhance shifting performance, but it also prolongs the life of your bike's components. As with any maintenance task, it's advisable to regularly check the condition of your cables and replace them as needed. With the right tools and some patience, you can perform this task with ease and confidence. Happy cycling!
-
Workings of Clutch Pipe and Hose SystemsNewsJun.04,2025
-
The Inner Workings of Hand Brake Cable SystemsNewsJun.04,2025
-
The Secrets of Throttle and Accelerator CablesNewsJun.04,2025
-
The Hidden Lifeline of Your Transmission Gear Shift CablesNewsJun.04,2025
-
Demystifying Gear Cables and Shift LinkagesNewsJun.04,2025
-
Decoding Clutch Line Systems A Comprehensive GuideNewsJun.04,2025
