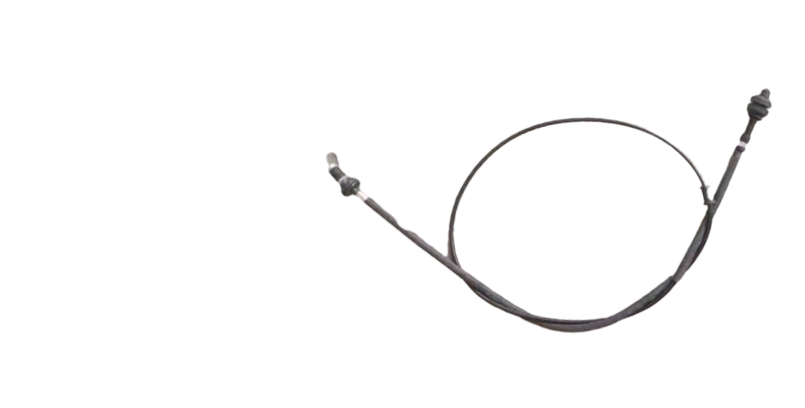
adjusting the throttle cable
Adjusting the Throttle Cable A Step-by-Step Guide
The throttle cable is a critical component in both automotive and motorcycle systems, serving as the link between the accelerator pedal and the engine. Proper adjustment of the throttle cable ensures that the engine responds smoothly and efficiently to acceleration inputs. An improperly adjusted throttle cable can lead to a range of issues, including sluggish response or even engine stalling. This article will guide you through the process of adjusting the throttle cable correctly.
Understanding the Throttle Cable
The throttle cable is responsible for controlling the airflow into the engine. When you press the accelerator pedal, the cable pulls on the throttle plate inside the engine, allowing more air (and fuel) to enter, which increases power output. Over time, the throttle cable can stretch or become damaged, leading to poor throttle response. Regular inspection and adjustment can prevent such issues.
Tools Needed
Before you start the adjustment process, gather the necessary tools 1. A set of wrenches or socket set 2. Screwdrivers (flat and Phillips) 3. Pliers 4. A measuring tape or ruler (optional for precise adjustments) 5. A helper (optional, but useful)
Step-by-Step Adjustment Process
Step 1 Safety First
Ensure that the vehicle is parked on a flat surface, the ignition is off, and the parking brake is engaged. For motorcycles, ensure that they are on a stable stand.
Step 2 Locate the Throttle Cable
The throttle cable can usually be found running from the accelerator pedal in cars or the throttle grip in motorcycles to the throttle body or carburetor. Consult your vehicle’s manual for the exact location if needed.
Step 3 Inspect the Cable
adjusting the throttle cable

Before making adjustments, check the throttle cable for any signs of wear, fraying, or damage
. If you notice any significant wear, it may be time to replace the cable rather than adjusting.Step 4 Adjust the Cable Tension
Locate the adjuster on the throttle cable. This is often found near the throttle body or under the dashboard at the accelerator pedal. There are usually two nuts; one locks the cable in place while the other is used for adjustment.
1. Loosen the Lock Nut Use the appropriate wrench to loosen the lock nut. Caution do not remove this nut completely; just loosen it enough to allow for adjustment. 2. Adjust the Cable Turn the adjuster nut (typically clockwise to tighten the cable, and counterclockwise to loosen it) until you achieve the desired tension. A good rule of thumb is to allow for a slight slack – about 1/8 to 1/4 inch of play in the cable. Ensure that the throttle returns smoothly when released.
3. Recheck Tightness After adjustments, re-tighten the lock nut carefully without altering the cable tension.
Step 5 Test the Throttle Response
Once the cable has been adjusted, start the engine and test the throttle response. With a friend or helper, press the accelerator pedal and check for immediate and smooth acceleration. Ensure the throttle returns fully to the closed position when released.
Step 6 Final Inspection
Finally, inspect the entire throttle cable setup for any protrusions or kinks that could affect performance. Ensure that the cable routing is correct, avoiding any pinch points.
Conclusion
Adjusting the throttle cable is a straightforward process that, if done correctly, can greatly enhance the performance of your vehicle or motorcycle. Regular checks and maintenance of the throttle system not only improve safety but also ensure a better driving experience. If you ever feel unsure about performing adjustments yourself, it’s always a good idea to consult with a professional mechanic.
-
Workings of Clutch Pipe and Hose SystemsNewsJun.04,2025
-
The Inner Workings of Hand Brake Cable SystemsNewsJun.04,2025
-
The Secrets of Throttle and Accelerator CablesNewsJun.04,2025
-
The Hidden Lifeline of Your Transmission Gear Shift CablesNewsJun.04,2025
-
Demystifying Gear Cables and Shift LinkagesNewsJun.04,2025
-
Decoding Clutch Line Systems A Comprehensive GuideNewsJun.04,2025
