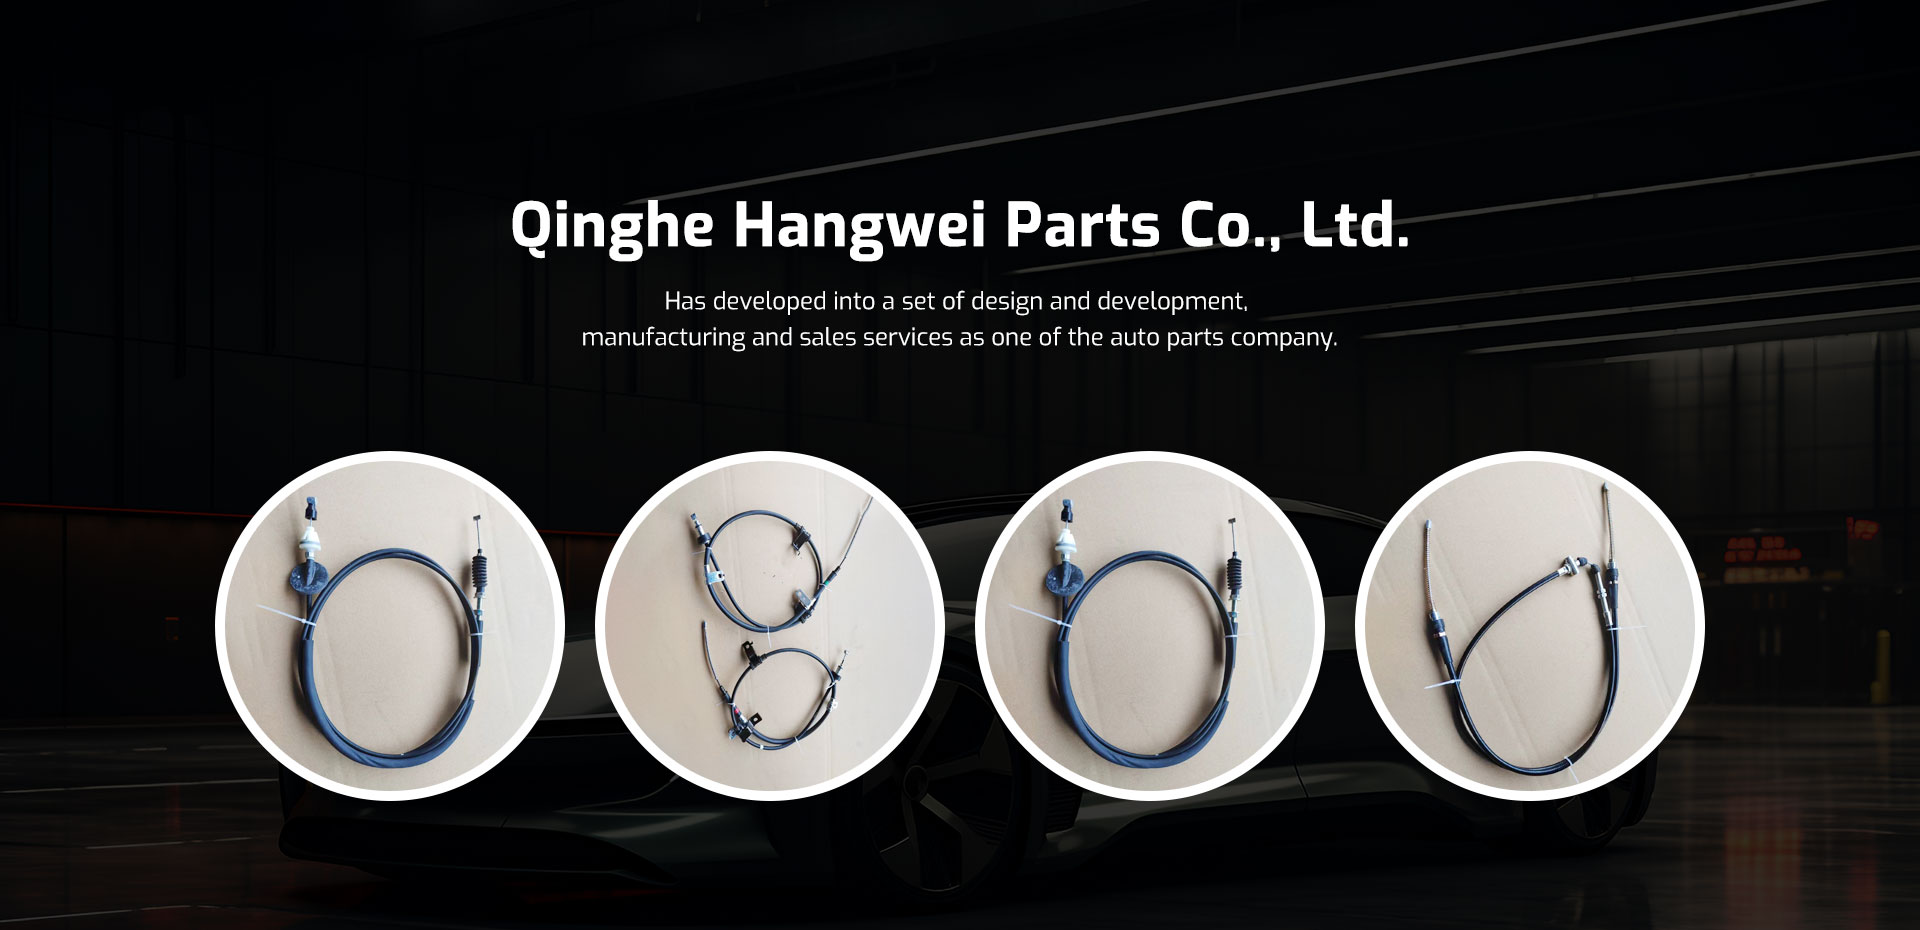
Adjusting Gear Cable for Optimal Performance in Bicycles and Motorcycles Maintenance and Repair Techniques
Changing Gear Cables A Comprehensive Guide
Maintaining a bicycle often involves various tasks, and one of the most crucial aspects is ensuring that the gear cables are in optimal condition. Gear cables play a fundamental role in the performance and efficiency of a bicycle's shifting mechanism. Over time, these cables can wear down, fray, or become sluggish, leading to poor shifting performance and frustrating rides. This article provides a detailed guide on how to change gear cables effectively.
Tools and Materials Needed
Before embarking on the task, it is essential to gather the necessary tools and materials
. You will need1. New gear cables 2. Cable cutters 3. A 4mm Allen key (or the appropriate size for your bicycle) 4. Screwdriver (flat-head or Phillips, depending on your bike) 5. Pliers (optional but helpful) 6. Lubrication oil (for maintenance) 7. A clean cloth for wiping
Step-by-Step Guide to Changing Gear Cables
1. Remove the Old Cable Begin by shifting the bike into the smallest sprocket and the smallest chainring. This position minimizes tension on the cable and makes the removal process easier. Using the appropriate Allen key, loosen the bolt holding the cable in place at the derailleur and remove the cable from the housing. If your bike has barrel adjusters, ensure they are turned to the maximum position.
2. Inspect the Cable Housing Before installing the new cable, check the cable housing for any signs of wear, such as cracks or kinks. If the housing appears damaged, it’s a good idea to replace it as well. Clean the inside of the housing to remove dust and grime, ensuring smooth cable movement.
changing gear cable

3. Prepare the New Cable Take your new gear cable and thread it through the cable housing, ensuring it follows the same route as the old cable. If you notice any bends or sharp angles, adjust it accordingly for a smooth path.
4. Attach the Cable Once the new cable is in place, route it through the derailleur and pull it tight. Secure it in position using the clamp bolt on the derailleur. It’s important not to overtighten this bolt, as doing so may damage the cable.
5. Adjust the Derailleur After securing the cable, you will need to adjust the derailleur for smooth shifting. Start by testing the shifting in all gear combinations. If there are any issues, use the barrel adjuster to fine-tune the tension. Turning the adjuster clockwise will increase tension, while turning it counter-clockwise will decrease tension.
6. Lubricate and Final Check It’s a good practice to apply a small amount of lubrication to the cable housing to ensure it operates smoothly. Also, test the shifting one last time to confirm that everything is functioning as it should.
7. Reassemble and Clean Up Once you are satisfied with the shifting performance, reattach any components you may have removed during the process. Finally, clean up your workspace, properly disposing of the old cables and any debris.
Conclusion
Changing gear cables is a straightforward yet essential maintenance task that every cyclist should know how to undertake. Regular inspections and timely replacements can significantly enhance the performance of your bicycle, leading to safer and more enjoyable rides. With the right tools and careful attention to detail, you can ensure that your bike's gear shifting is always in perfect condition, allowing you to conquer any terrain with ease. Make it a part of your regular bike maintenance routine, and your bicycle will thank you with smooth, responsive gear changes every ride.
-
Workings of Clutch Pipe and Hose SystemsNewsJun.04,2025
-
The Inner Workings of Hand Brake Cable SystemsNewsJun.04,2025
-
The Secrets of Throttle and Accelerator CablesNewsJun.04,2025
-
The Hidden Lifeline of Your Transmission Gear Shift CablesNewsJun.04,2025
-
Demystifying Gear Cables and Shift LinkagesNewsJun.04,2025
-
Decoding Clutch Line Systems A Comprehensive GuideNewsJun.04,2025
