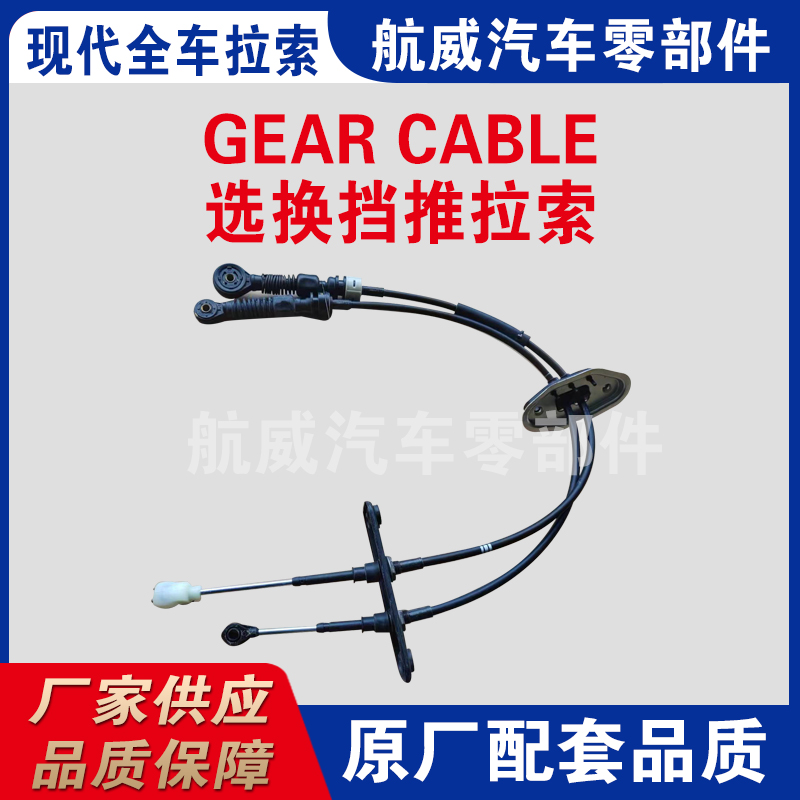
Adjusting and Replacing Gear Cables for Smooth Shifting Performance and Enhanced Bicycle Functionality
Changing Gear Cable A Comprehensive Guide
Changing the gear cable on a bicycle is an essential maintenance task that can greatly enhance your riding experience. Whether you’re a casual cyclist or a seasoned rider, understanding how to change your gear cable can save you time and money, improve your bike’s performance, and ensure a smooth ride. This article provides a detailed guide on how to effectively replace your bike's gear cable.
Understanding Gear Cables
Gear cables are vital components of a bicycle's shifting system. They connect the gear shifters on the handlebars to the derailleurs that adjust the position of the chain across the gears. Over time, these cables can wear out due to friction, environmental factors, and general usage. When your bike starts to exhibit sluggish shifting, slipping gears, or if the cables appear frayed, it's time to replace them.
Tools You'll Need
Before you start the replacement process, gather the necessary tools
1. New gear cable 2. Cable cutters 3. Hex wrenches (usually 4mm or 5mm) 4. Phillips screwdriver 5. Allen keys (if needed for your bike's fittings) 6. Bicycle lubricant 7. Rags for cleanup
Steps to Change the Gear Cable
1. Remove the Old Cable Begin by shifting into the smallest chainring and the smallest rear cog. This position relieves tension on the cable. Use an Allen key to loosen the derailleur's cable anchor bolt and pull the old cable out of the housing. Take note of how the cable is threaded, as this will guide you during installation.
changing gear cable

2. Prepare the New Cable Unbox your new gear cable and cut it to the length of the old cable, if necessary. Most cables come with a protective housing, which should also be replaced if it's damaged or worn. Measure the new housing against the old one and cut it to the appropriate length.
3. Install the New Cable Thread the new cable through the shifter lever first. Make sure to feed it smoothly to avoid kinks. Once the cable is through the shifter, guide it through the housing and derailleurs, mimicking the original path of the old cable. Secure it at the derailleur using the cable anchor bolt.
4. Adjusting the Derailleur After the new cable is installed, it is essential to adjust the tension. Shift through all the gears while checking that the chain moves smoothly across the cogs. If the shifting feels off, use the barrel adjuster, usually located on the shifter or derailleur, to fine-tune the cable tension.
5. Test Ride Once the adjustment is complete, take your bike for a test ride. Shift through all the gears to ensure that they function correctly and smoothly. Pay attention to any strange noises or hesitation in shifting. If issues persist, readjust the cable tension or revisit the installation process.
Maintenance Tips
To prolong the life of your new gear cable, periodic inspection and maintenance are crucial. Lubricate the cable and housing regularly to reduce friction and prevent wear. Additionally, cleanliness matters—keep your bike and components free from grime and dirt, as these can interfere with shifting performance.
Conclusion
Changing a gear cable might seem daunting at first, but with some patience and basic tools, you can easily do it at home. Regular maintenance not only keeps your bike in optimal condition but also enhances your cycling experience. Remember, a well-maintained bike performs better, giving you more joy on your rides. So roll up your sleeves and get your hands dirty—you’ll be rewarded with smooth and reliable gearing for many miles to come!
-
Workings of Clutch Pipe and Hose SystemsNewsJun.04,2025
-
The Inner Workings of Hand Brake Cable SystemsNewsJun.04,2025
-
The Secrets of Throttle and Accelerator CablesNewsJun.04,2025
-
The Hidden Lifeline of Your Transmission Gear Shift CablesNewsJun.04,2025
-
Demystifying Gear Cables and Shift LinkagesNewsJun.04,2025
-
Decoding Clutch Line Systems A Comprehensive GuideNewsJun.04,2025
