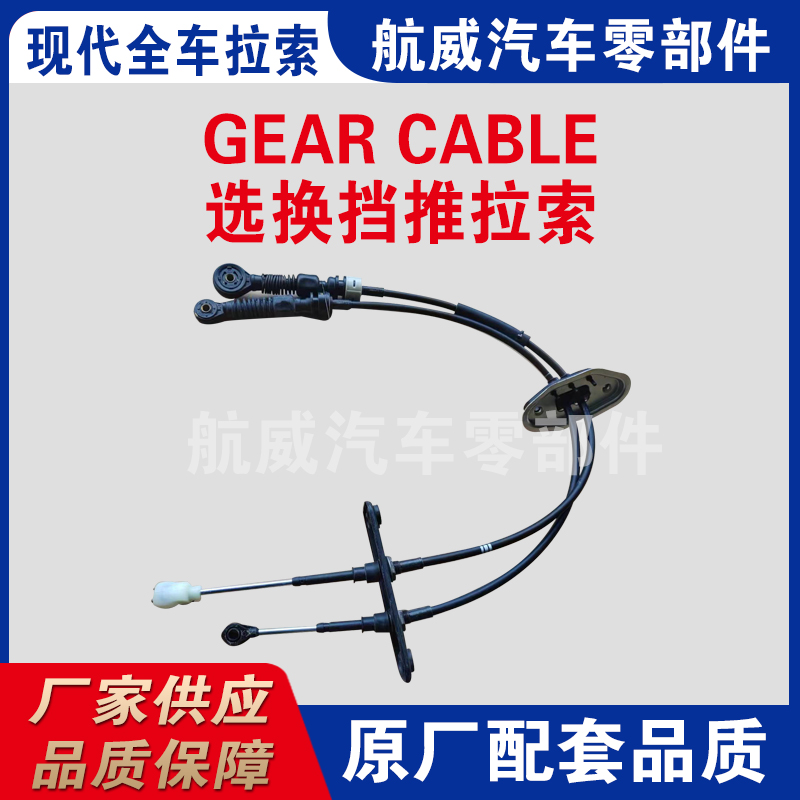
Adjusting and Replacing Gear Cables for Smooth Performance and Optimal Bicycle Functionality
Changing Gear Cable A Comprehensive Guide
Changing the gear cable on your bicycle is an essential maintenance task that can significantly enhance your riding experience. Over time, gear cables can stretch, fray, or become corroded, leading to poor shifting performance and an overall less enjoyable ride. This article will guide you through the process of changing your gear cable, ensuring that you have the right tools and knowledge to complete the task efficiently.
Tools You Will Need
Before you start the process, gather the necessary tools. You'll need 1. A new gear cable (ensure it’s the correct length and type for your bike) 2. A cable cutter or sharp scissors 3. A 5mm Allen wrench (or the appropriate tool for your derailleur) 4. A screwdriver (if your bike has a bolt-on derailleur) 5. A pair of pliers (optional, for handling tough cables) 6. A bike stand (optional, but very helpful)
Step-by-Step Guide
1. Preparation Begin by removing the rear wheel if needed to make accessing the derailleur easier. Shift the bike into the smallest rear cog to relieve tension on the cable. This step is crucial as it allows for smoother disconnection of the cable.
Changing Gear Cable A Comprehensive Guide
3. Removing the Cable Housing Remove the old housing if it’s worn or damaged. This may involve unscrewing cable stops on the frame. Replace it with a new housing if necessary, cutting it to the correct length and ensuring a clean cut to avoid fraying.
changing gear cable

4. Installing the New Cable Take the new gear cable and thread it through the housing from the shifter down to the derailleur. Make sure it moves freely within the housing; any kinks or bends can affect shifting performance.
5. Attaching the Cable Feed the end of the new cable into the derailleur’s cable anchor, ensuring it is properly seated. Tighten the anchor bolt to secure the cable in place, but avoid overtightening, as this can damage the cable.
6. Adjusting the Derailleur With the new cable in place, it’s essential to check the derailleur’s limit screws and B-screw adjustments to ensure proper alignment and shifting accuracy. Adjust as necessary according to your bike’s specifications.
7. Testing the Shifting Reattach the rear wheel if you removed it. Shift through all the gears to ensure smooth transitions. If you notice any hesitations or misalignment, further adjustments to the derailleur may be needed.
8. Final Checks After testing, ensure that all components are securely fastened and that there are no loose cables or components. Clean up any cut cables or materials to keep your workspace tidy.
Conclusion
Changing the gear cable on your bicycle might seem daunting at first, but with the right tools and a little patience, it can be a straightforward task. Regular maintenance of your gear cables not only improves shifting performance but also prolongs the life of your components. With this guide, you should feel confident tackling your gear cable replacement, ensuring a smoother and more enjoyable ride. Happy cycling!
-
Workings of Clutch Pipe and Hose SystemsNewsJun.04,2025
-
The Inner Workings of Hand Brake Cable SystemsNewsJun.04,2025
-
The Secrets of Throttle and Accelerator CablesNewsJun.04,2025
-
The Hidden Lifeline of Your Transmission Gear Shift CablesNewsJun.04,2025
-
Demystifying Gear Cables and Shift LinkagesNewsJun.04,2025
-
Decoding Clutch Line Systems A Comprehensive GuideNewsJun.04,2025
