
កុម្ភៈ . 14, 2025 13:17
Back to list
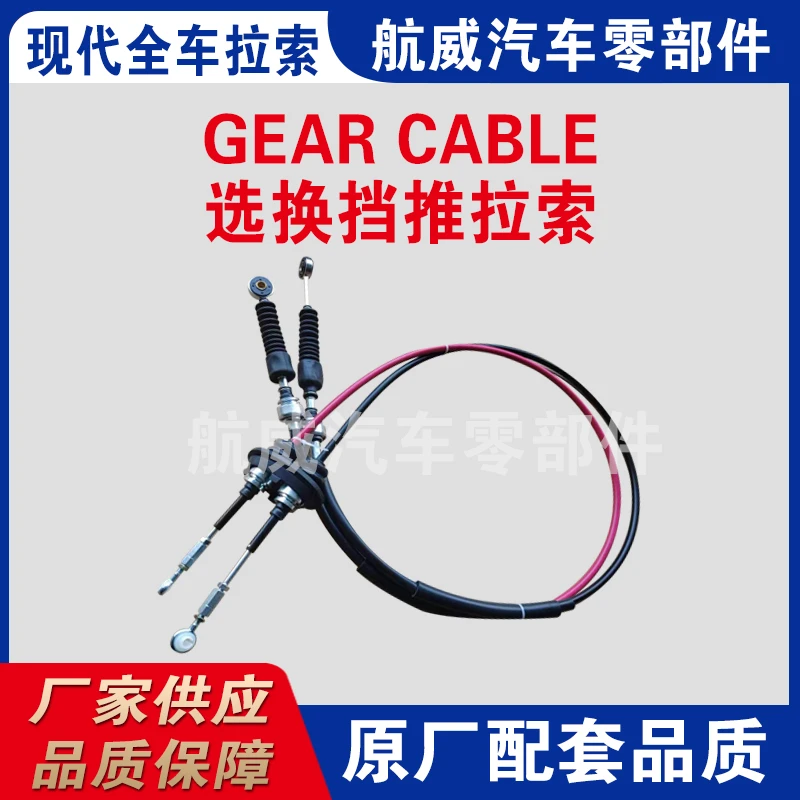
rear derailleur cable
Upgrading or maintaining a bicycle often boils down to understanding the intricacies of each component, and the rear derailleur cable is a crucial one. Its role is to transmit force from the gear shifter to the derailleur, thus enabling smooth transitions between gears. A properly functioning cable ensures a seamless ride, whereas a poorly installed or maintained one can result in frustrating gear changes or a breakdown.
For performance-driven cyclists, maintenance is not just confined to adjustments. Regularly replacing the rear derailleur cable, usually every six months or after significant mileage, ensures peak performance. Signs indicating a replacement might be due include frayed ends, visible corrosion, or difficulties in shifting despite proper tension adjustments. Experience has shown that cyclists who prioritize regular inspection and maintenance of their rear derailleur cables enjoy longer-lasting components and optimal bike performance. Whether you're navigating muddy trails or racing along a paved trail, a well-maintained cable can be the difference between a smooth ride and an unwanted pitstop. To bolster the credibility of this advice, numerous cycling experts and professional racers advocate for routine cable maintenance. Professional mechanics often equate a neglected derailleur cable to a ticking time bomb, with the risk of a snapped cable leaving a cyclist stranded mid-ride. Testimonials from experienced cyclists reinforce the importance of choosing the right materials and maintaining correct tension to ensure smooth gear transitions and a trouble-free ride. In conclusion, the rear derailleur cable, though a small component, plays a disproportionately large role in enhancing the cycling experience. Understanding its function, selecting the right materials, ensuring proper installation, and undertaking routine maintenance are all crucial steps to maximize its performance. Riders who embrace these practices often find themselves rewarded with a smoother, more reliable, and enjoyable cycling experience.
For performance-driven cyclists, maintenance is not just confined to adjustments. Regularly replacing the rear derailleur cable, usually every six months or after significant mileage, ensures peak performance. Signs indicating a replacement might be due include frayed ends, visible corrosion, or difficulties in shifting despite proper tension adjustments. Experience has shown that cyclists who prioritize regular inspection and maintenance of their rear derailleur cables enjoy longer-lasting components and optimal bike performance. Whether you're navigating muddy trails or racing along a paved trail, a well-maintained cable can be the difference between a smooth ride and an unwanted pitstop. To bolster the credibility of this advice, numerous cycling experts and professional racers advocate for routine cable maintenance. Professional mechanics often equate a neglected derailleur cable to a ticking time bomb, with the risk of a snapped cable leaving a cyclist stranded mid-ride. Testimonials from experienced cyclists reinforce the importance of choosing the right materials and maintaining correct tension to ensure smooth gear transitions and a trouble-free ride. In conclusion, the rear derailleur cable, though a small component, plays a disproportionately large role in enhancing the cycling experience. Understanding its function, selecting the right materials, ensuring proper installation, and undertaking routine maintenance are all crucial steps to maximize its performance. Riders who embrace these practices often find themselves rewarded with a smoother, more reliable, and enjoyable cycling experience.
Next:
Latest news
-
Upgrade Your Clutch System with Premium Hydraulic Clutch LinesNewsJul.31,2025
-
Unlock the Power of Precision with Our Throttle CablesNewsJul.31,2025
-
Unleash Power and Precision with Our Accelerator CablesNewsJul.31,2025
-
Experience Unmatched Safety with Premium Handbrake CablesNewsJul.31,2025
-
Enhance Your Vehicle's Performance with Quality Gear CablesNewsJul.31,2025
-
Workings of Clutch Pipe and Hose SystemsNewsJun.04,2025