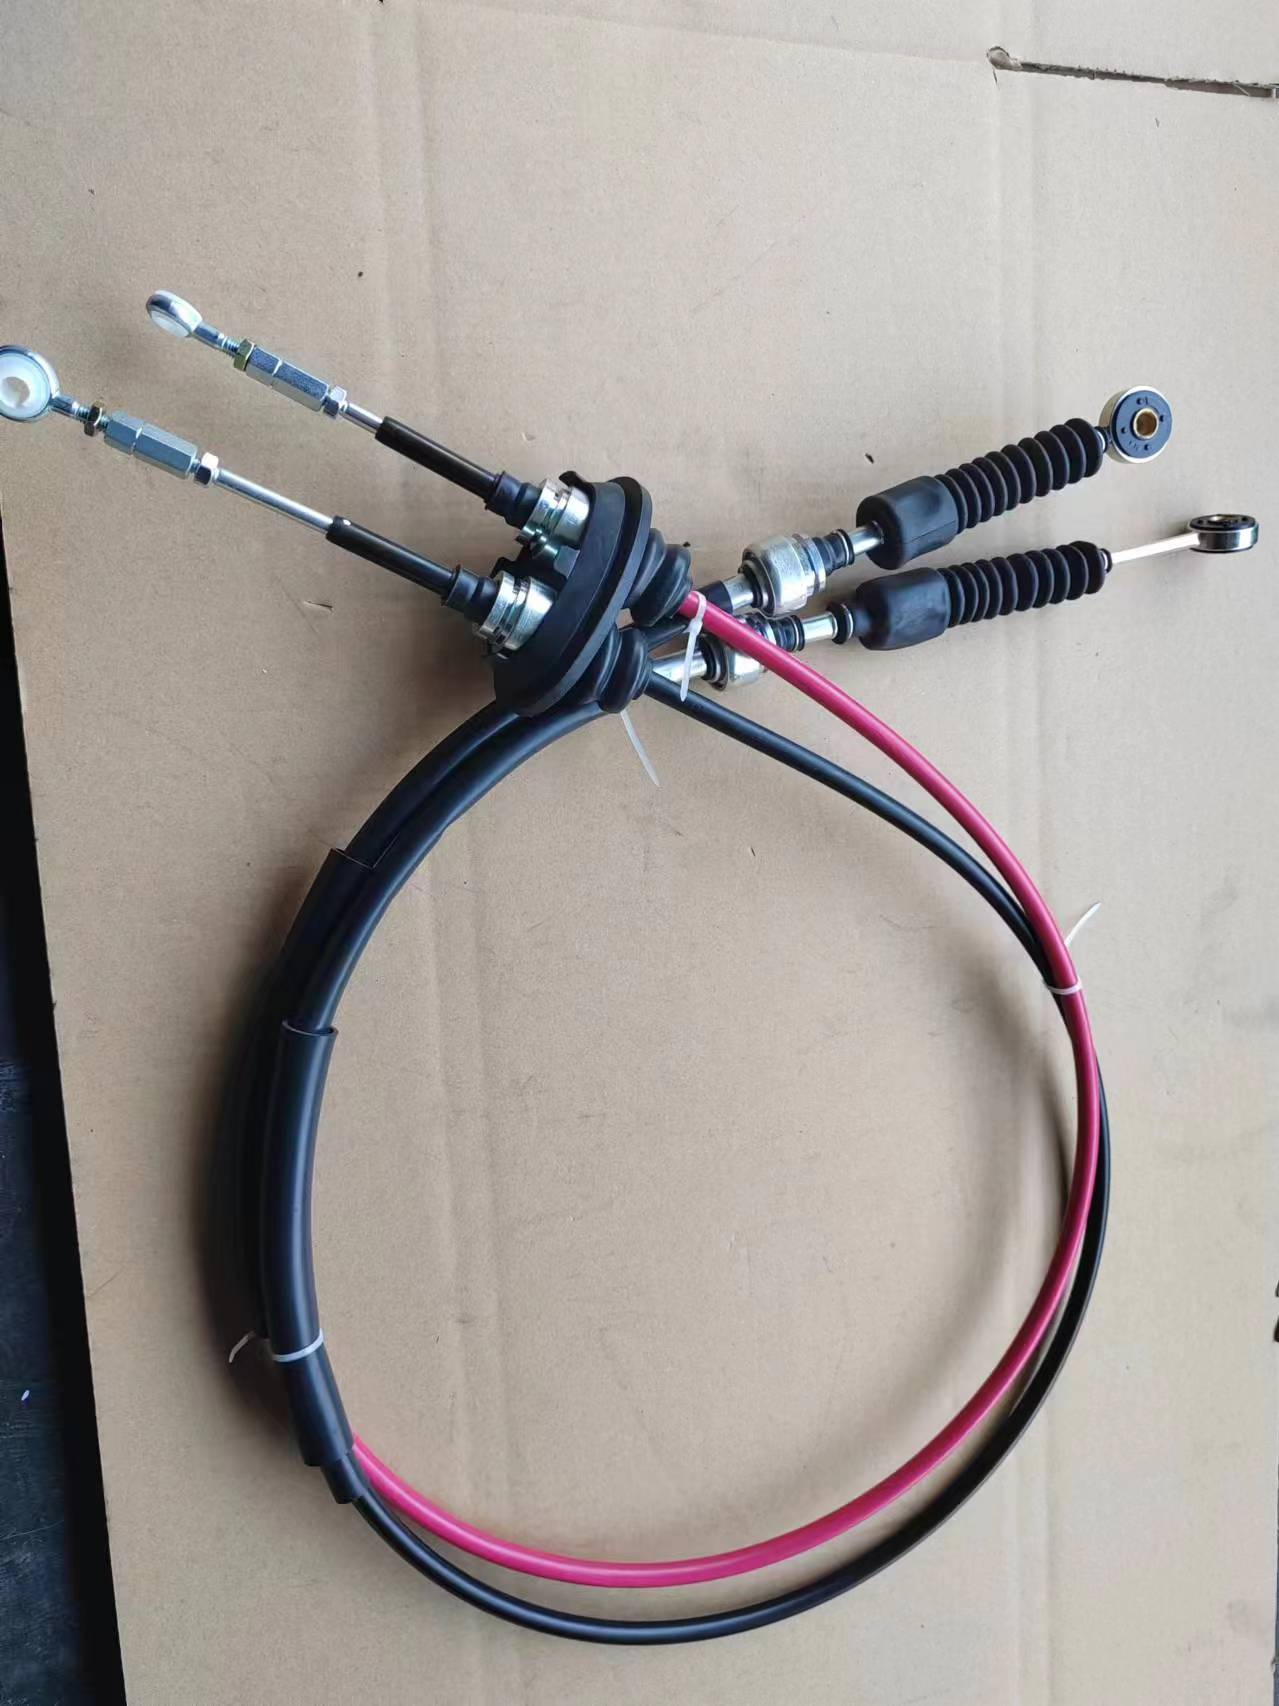
How to Replace a Gear Cable for Smooth Shifting Performance
Changing Gear Cable A Comprehensive Guide for Cyclists
Cycling is an enjoyable and efficient means of transport, but like any vehicle, bicycles require maintenance to perform well. One crucial component that often needs attention is the gear cable. A properly functioning gear cable ensures smooth gear shifting, enhancing your overall cycling experience. In this article, we will guide you through the process of changing a gear cable, ensuring that you can tackle it with confidence.
Understanding Gear Cables
Before diving into the replacement process, it’s important to understand what a gear cable is and its role in your bike's mechanics. Gear cables connect the gear shifters to the derailleurs, which are responsible for moving the chain between gears. Over time, these cables can fray, rust, or stretch, leading to poor shifting performance and making rides less enjoyable.
Tools You Will Need
To change your gear cable, you will need a few basic tools
1. Cable Cutters For trimming the new cable to the desired length. 2. Multi-Tool or Allen Wrench To adjust or remove components of your bicycle, depending on the design. 3. New Gear Cable Make sure to select the right type of cable that fits your shifters and derailleurs. 4. Cable Housing (if needed) Sometimes, the casing for the cable may also need replacement.
Step-by-Step Guide to Changing Your Gear Cable
changing gear cable

1. Remove the Old Cable - Start by shifting the bike into the smallest chainring and the smallest rear cog. This relieves tension on the cable. - Locate the cable anchor bolt on the derailleur. Loosen this bolt using a multi-tool. This will free the cable from the derailleur. - Next, remove the cable from the shifter. There’s typically a small clamp or screw holding the cable in place. Loosen this and pull the cable out.
2. Assess and Replace the Housing - If your cable housing is frayed or damaged, it’s a good time to replace it. Measure the length needed for the new housing, cutting it accordingly with your cable cutters.
3. Install the New Cable - Feed the new gear cable through the shifter first, then into the housing. Make sure the cable moves freely. - Insert the cable into the derailleur, threading it through to the anchor point. Tighten the anchor bolt securely.
4. Adjusting Tension - With the cable installed, you will now need to adjust the tension. Shift through the gears to ensure smooth transitions. If there’s any hesitance in shifting, you may need to fine-tune the tension using the barrel adjuster, if available.
5. Final Check - Once adjustments are made, double-check all components to ensure everything is tight. Take the bike for a quick test ride, paying attention to how it shifts. Make any final tweaks as necessary.
Conclusion
Changing a gear cable can seem daunting, but with the right tools and a bit of patience, it is a manageable task that greatly enhances the performance of your bicycle. Regular maintenance, including gear cable replacement, will not only improve shifting performance but also prolong the life of your bike’s components. So next time you notice your gears acting up, don’t hesitate to take on the job yourself – you’ll find it a rewarding experience that helps you stay on the road longer and ride more effectively. Happy cycling!
-
Workings of Clutch Pipe and Hose SystemsNewsJun.04,2025
-
The Inner Workings of Hand Brake Cable SystemsNewsJun.04,2025
-
The Secrets of Throttle and Accelerator CablesNewsJun.04,2025
-
The Hidden Lifeline of Your Transmission Gear Shift CablesNewsJun.04,2025
-
Demystifying Gear Cables and Shift LinkagesNewsJun.04,2025
-
Decoding Clutch Line Systems A Comprehensive GuideNewsJun.04,2025
