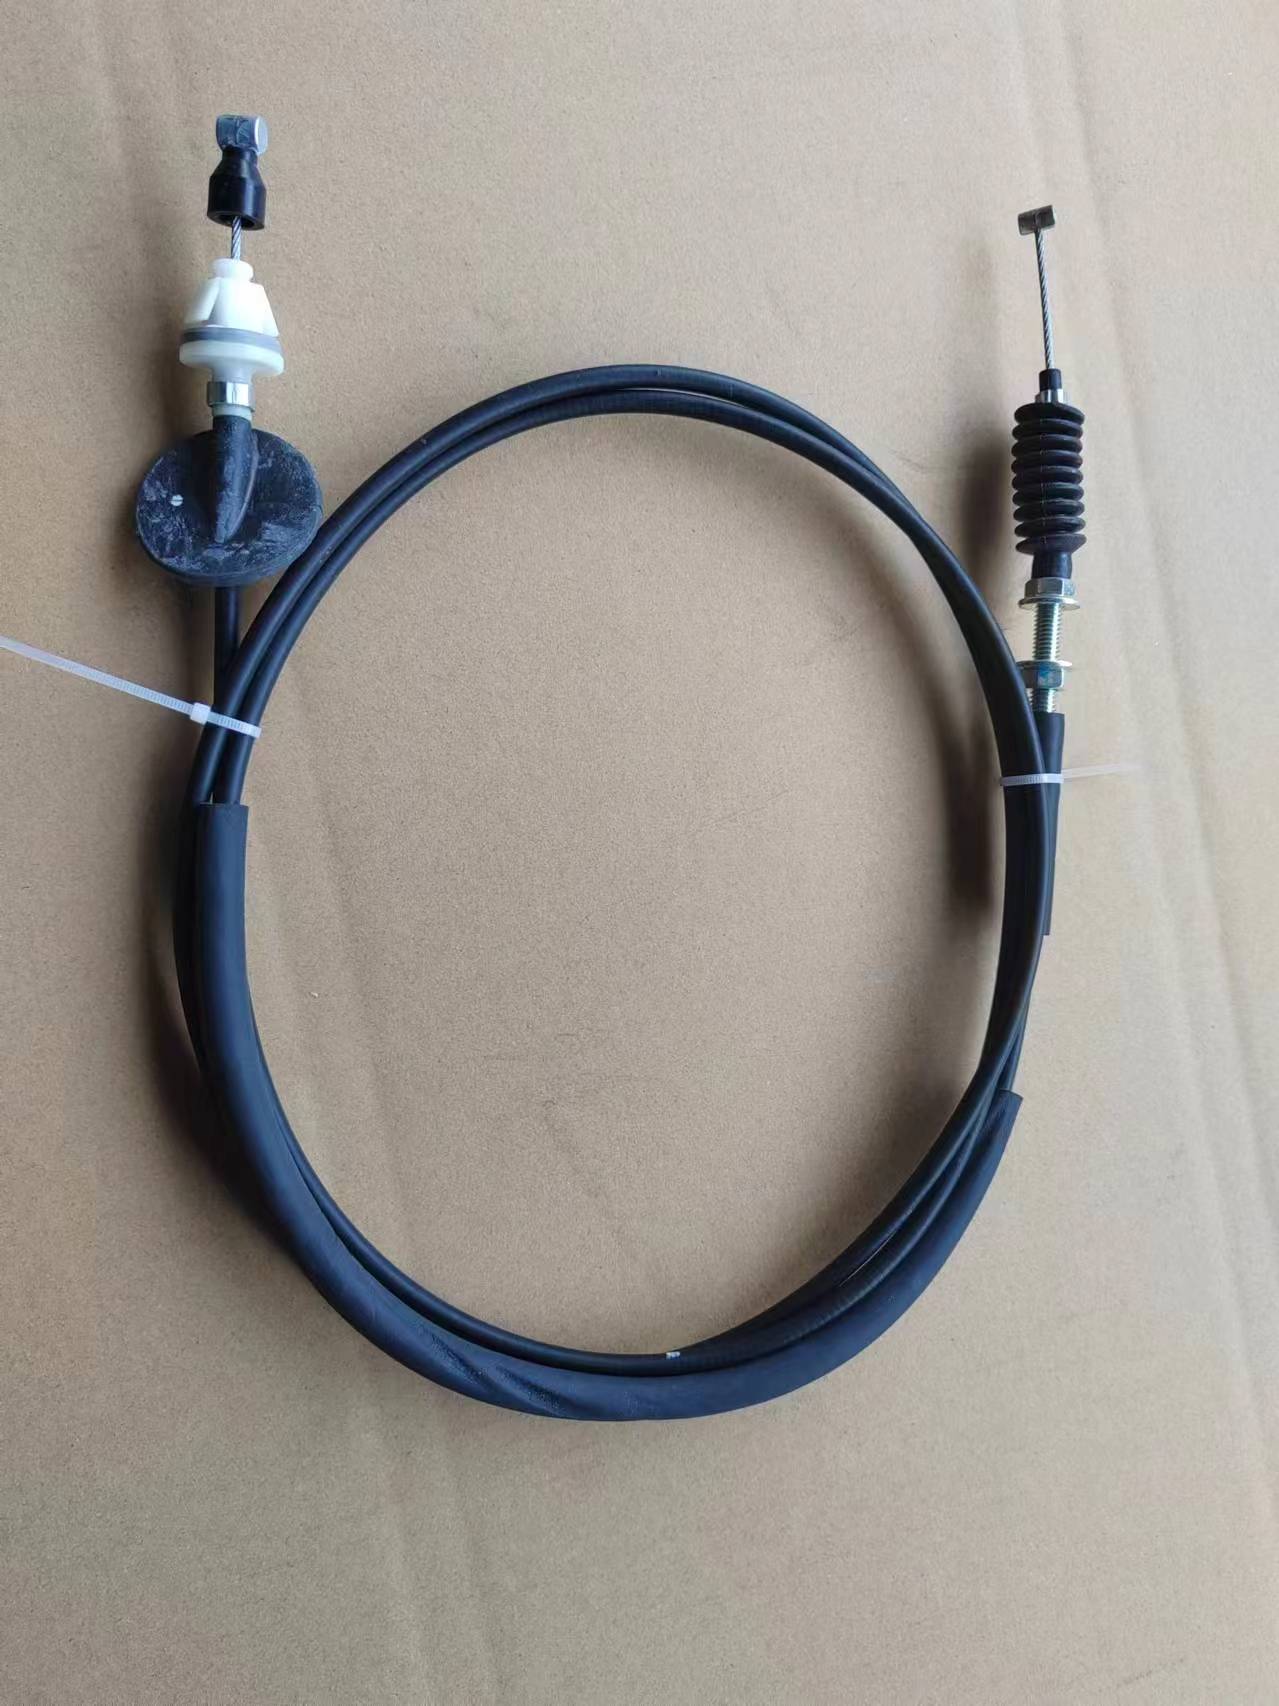
changing gear cable
Changing Gear Cable A Step-by-Step Guide
Changing a gear cable is an essential maintenance task for any cyclist who values smooth gear shifts and optimal bike performance. Over time, gear cables can fray, rust, or stretch, which can lead to inconsistent shifting or even a complete failure of the gearing system. Fortunately, replacing a gear cable is a straightforward process that can be done with a few basic tools. Here’s a step-by-step guide to help you through the process.
Tools Required
Before you start, ensure you have the following tools on hand - A new gear cable - Cable cutters - Allen wrenches (or screwdrivers, depending on your bike) - A pair of needle-nose pliers - A bike stand (optional, but helpful)
Step 1 Prepare Your Bike
Start by positioning the bike securely in a workstand or lying it carefully on its side. This will give you easier access to the gears. Shift your bike to the smallest chainring and the smallest rear cog. This will relieve tension on the cable and make it easier to remove.
Step 2 Remove the Old Cable
Locate the cable housing where it enters the derailleur. Use the appropriate tool to loosen and remove the bolt holding the cable in place. After releasing the tension, slide the cable out of the housing, taking care to note how it is threaded through the derailleur. Next, trace the cable back to the shifter and release it from the housing there as well.
changing gear cable

Step 3 Install the New Cable
Take your new gear cable and thread it through the housing, starting from the shifter side. Make sure to follow the same routing as the old cable. Once it reaches the derailleur, insert it through the appropriate channel and secure it by tightening the bolt.
Step 4 Adjust the Tension
With the cable connected, shift through the gears to check for smoothness. If you notice any sticking or skipping, adjust the cable tension using the barrel adjuster located near the shifter. Turning it counterclockwise will add tension, while clockwise will reduce it.
Step 5 Trim Excess Cable
Once you’re satisfied with the shifting performance, use cable cutters to trim any excess cable. Be sure to leave enough length to accommodate future adjustments. Finally, use a cable end cap on the cut end to prevent fraying.
Conclusion
Changing a gear cable may seem daunting at first, but with patience and practice, you can accomplish this task with ease. Regular maintenance, including cable replacements, will ensure your bike runs smoothly and enhances your riding experience. Whether you’re a seasoned cyclist or a beginner, taking the time to learn how to change a gear cable is a valuable skill that will pay off greatly on your rides.
-
Upgrade Your Clutch System with Premium Hydraulic Clutch LinesNewsJul.31,2025
-
Unlock the Power of Precision with Our Throttle CablesNewsJul.31,2025
-
Unleash Power and Precision with Our Accelerator CablesNewsJul.31,2025
-
Experience Unmatched Safety with Premium Handbrake CablesNewsJul.31,2025
-
Enhance Your Vehicle's Performance with Quality Gear CablesNewsJul.31,2025
-
Workings of Clutch Pipe and Hose SystemsNewsJun.04,2025
